I want to watch my video on Mac with AVI format, but I don't know which converter is of good use. Can anyone give me an advice which tool is good at converting MP4 to AVI files for Mac? The Mac Video Converter from Leawo should absolutely be users' ideal tool to convert popular video formats like MOV, VOB, MP4 to AVI for Mac file with powerful and practical functions! You can happily get excellent output quality for a better visual enjoyment after Mac MP4 to AVI Conversion. You must think highly of this Mac MP4 to AVI converter due to its fast conversion speed.
Full Guide
Do the essential settings
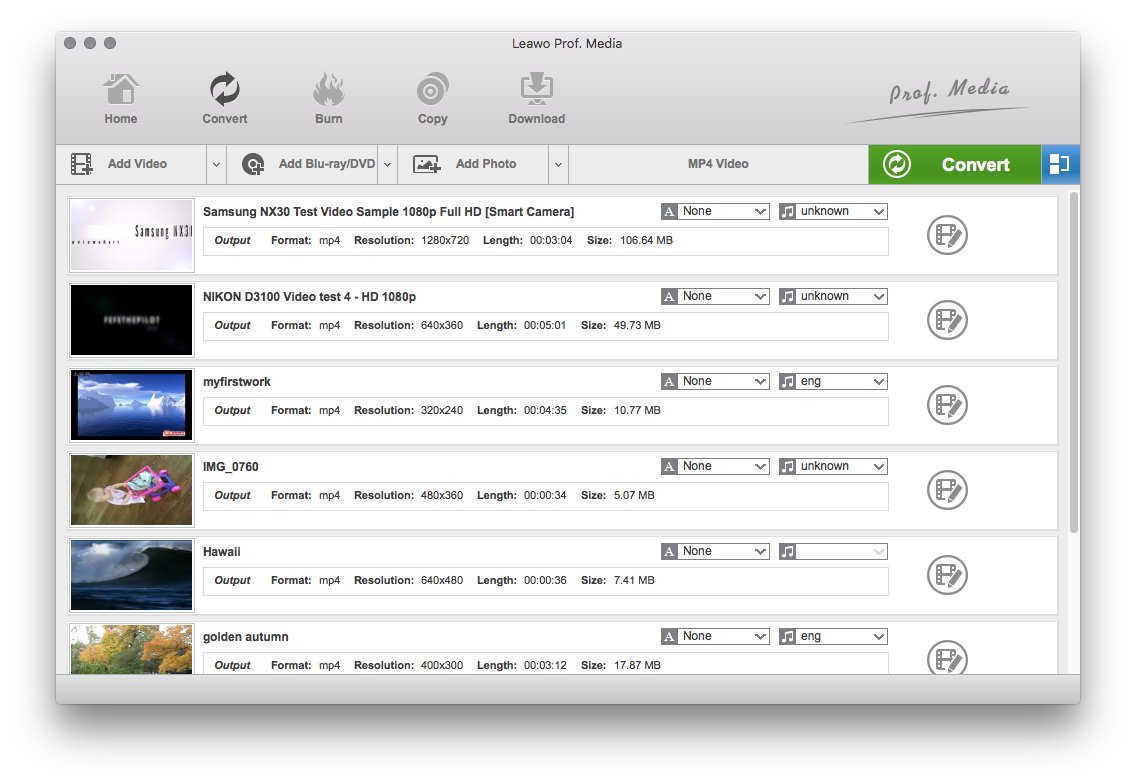
Click "Add" button to load MP4 files you want.
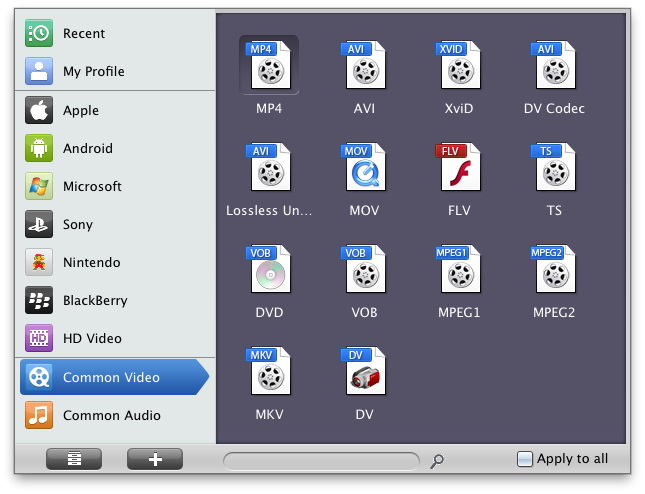
Choose AVI as output format
Select each file and choose the output format like AVI in "Profile".
Select video and audio quality that you need.
Set an output folder by "Output" for the destination files.

Video Effect Settings
Click Edit button to crop, adjust and watermark video to satisfy your needs.
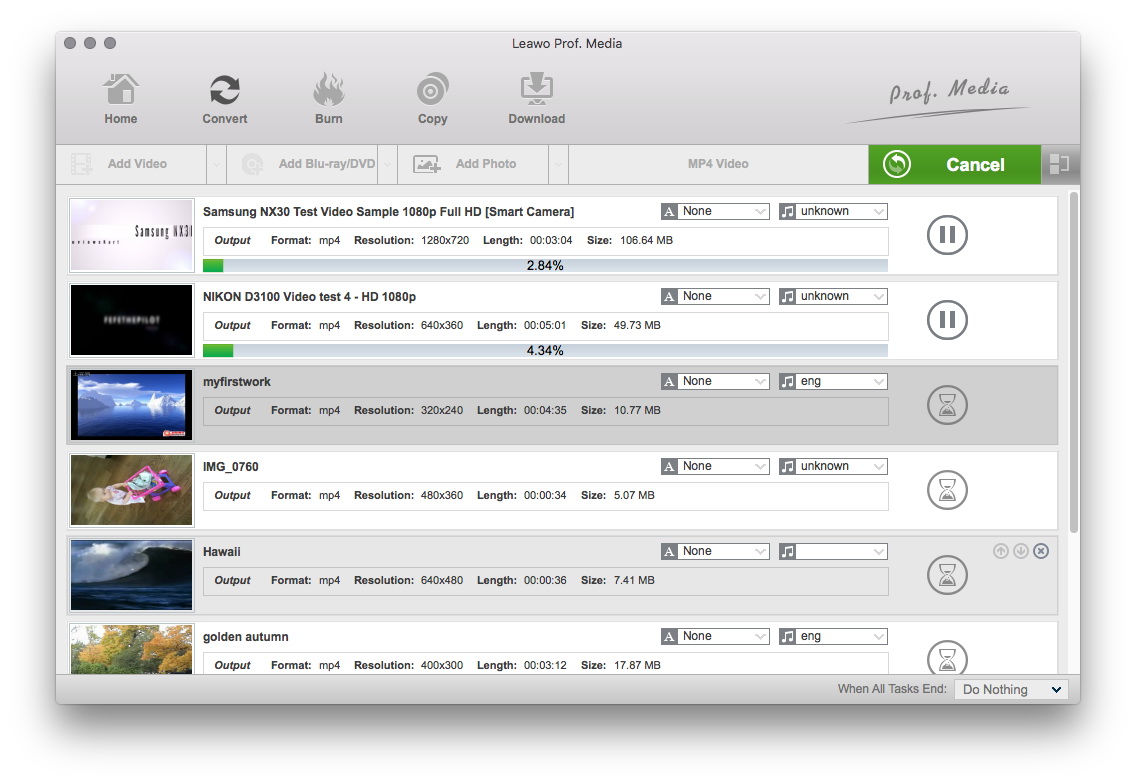
Convert Videos
When you have got ready for the settings for the added videos in the video converter program, you can click "Convert" button to start conversion. Just for a while, the conversion will be finished and you can enjoy it freely.
Extended Knowledge

MP4, short for MPEG-4 Part 14, is a multimedia container format standard specified as a part of MPEG-4. It is most commonly used to store digital audio and digital video streams, especially those defined by MPEG, and also can be used to store other data such as subtitles and still images. Like most modern container formats, MPEG-4 Part 14 allows streaming over the Internet. The official filename extension for MPEG-4 Part 14 files is .mp4, thus the container format is often referred to MP4.
AVI (Audio Video Interleaved) file is a sound and motion picture file that conforms to the Microsoft Windows Resource Interchange File Format (RIFF) specification. AVI files (which end with an .avi extension) require a special player that may be included with your Web browser or may require downloading.