Want to enjoy WMV file on Mac at your will? Leawo Video Converter for Mac is a professional program which can convert among all popular video formats on Mac, including AVI to WMV conversion on Mac as well. Generally, you can easily convert AVI files to WMV files for Mac with its practical functions, such as cropping, trimming, watermarking, etc. After conversion, you will like this Mac AVI to WMV converter, especially its user-friendly interface and clear instructions. With excellent output quality, you can enjoy your digital life happily!
Full Guide
Do the essential settings
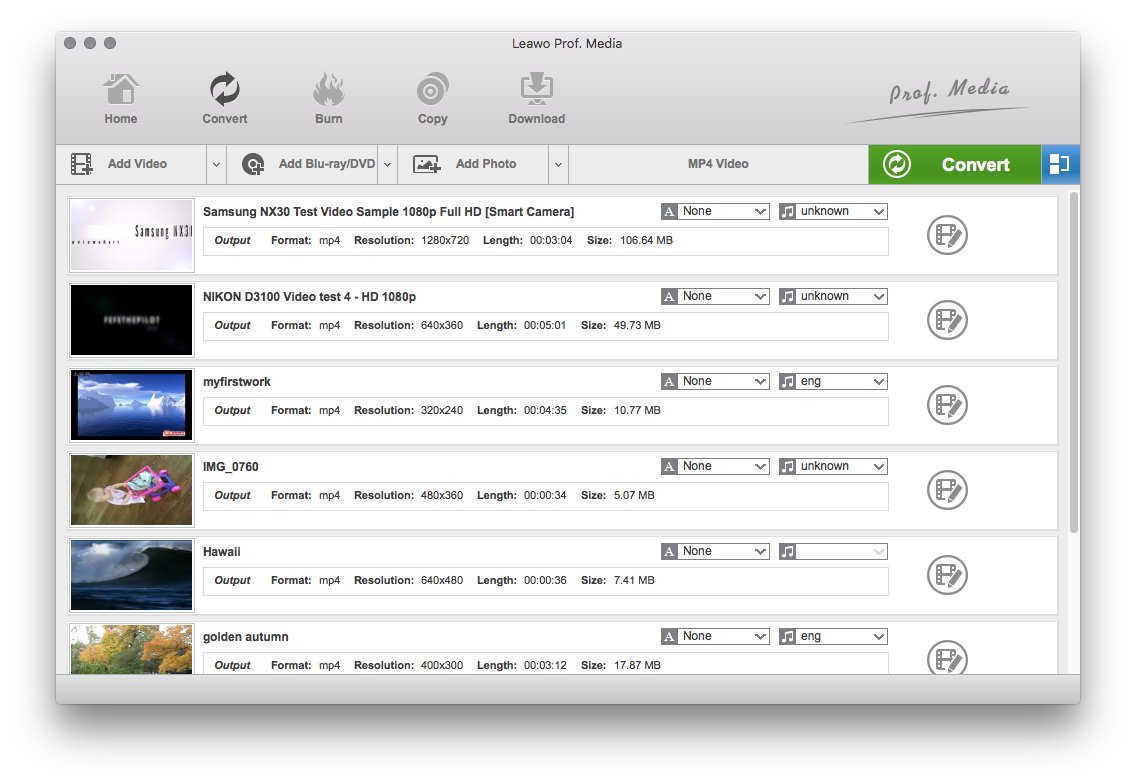
Click "Add" button on the main interface to load AVI files you want.
Select Output Profile
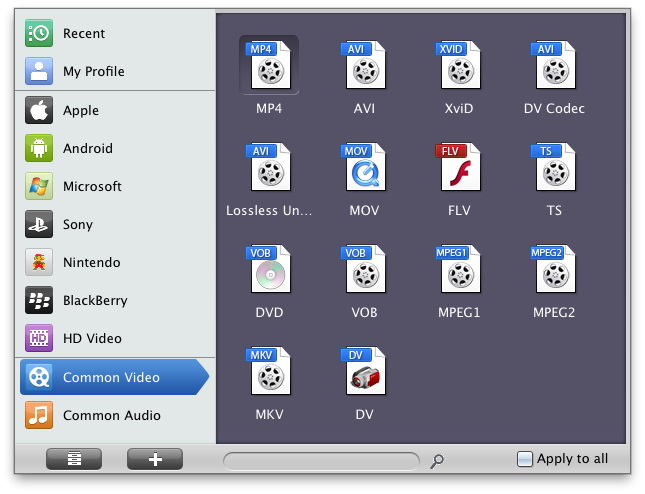
Click on the file format of the original video on the video processing list, and then it will switch to the following output file format choosing panel. Select a target format for the output according to your requirement. Or you can take advantage of the "Profile Search Function" and get access to the target format quickly.
You can set detailed parameters: Choose the file and go to "Add Profile" button at the bottom of the main interface to set detailed parameters for the video as you like. Such as Codec, Video Size, Bit Rate, Aspect Ratio, Frame Rate, etc.

Video Effect Settings
Click "Edit" button to crop, adjust and watermark video to satisfy your needs.
Convert Videos
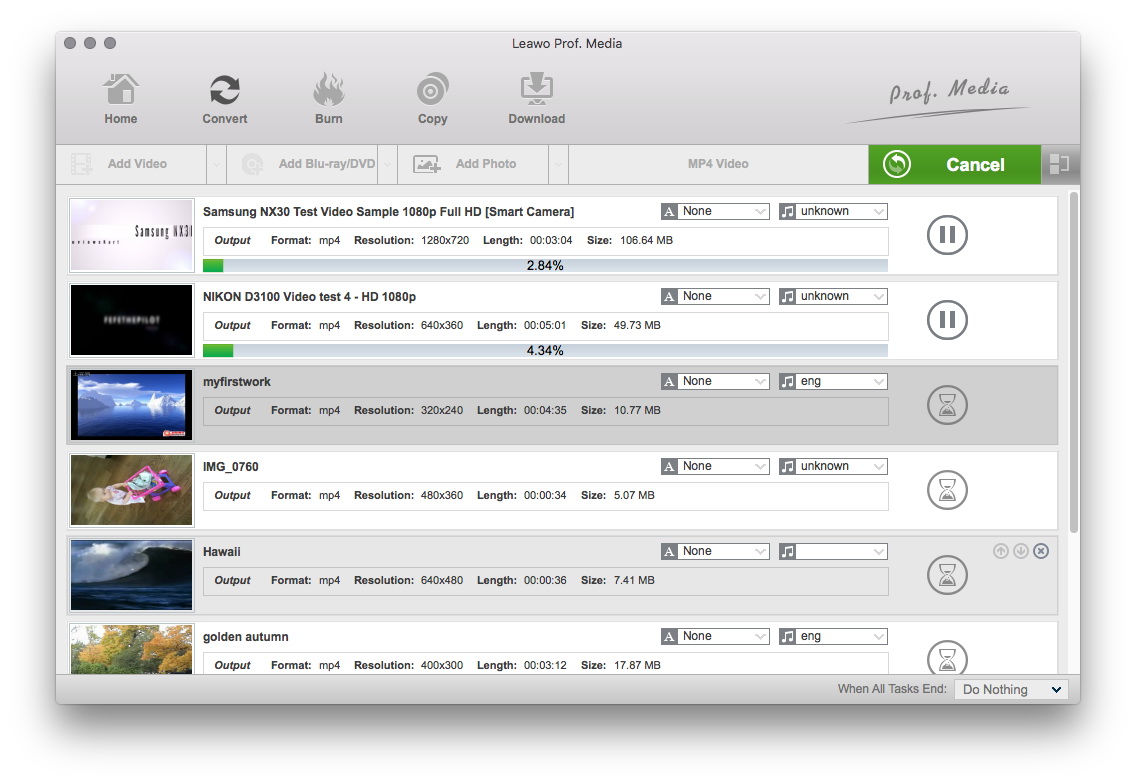
When you have got ready for the settings for the added videos in the video converter program, you can click "Convert" button to start conversion. Just for a while, the conversion will be finished and you can enjoy it freely.
Extended Knowledge

AVI (Audio Video Interleaved) file is a sound and motion picture file that conforms to the Microsoft Windows Resource Interchange File Format (RIFF) specification. AVI files (which end with an .avi extension) require a special player that may be included with your Web browser or may require downloading.
The Windows Media Video codec (.WMV) is a subset of Microsoft's Advanced Systems Format (ASF) container format. WMV files can be played by players such as MPlayer or Windows Media Player, the latter is only available for Microsoft Windows and Macintosh systems. WMV is a closed source, propriety codec that cannot be manipulated. It is not suggested for editing.