Summary:
This article introduces the YouTube TV Cloud DVR feature, including its features and limitations. It also introduces third-party tools to bypass these limitations and save the recorded content for as long as users want.
MenuCLOSE
Have you ever worried about not being able to catch up with your favorite show on cable TV? Now you can forget that worry. YouTube TV allows users to watch the content of cable TV through different devices. If you are on the subway and can’t make it home on time, you can watch it on your phone. Then comes another question, you may wonder can you record on YouTube TV? YouTube TV Cloud DVR offers a solution. Through this feature, users can record their favorite content and watch it at any time when they are free. But there are still limitations to this feature. This article will show how do you record on YouTube TV through both DVR and other third-party tools.
Part 1: What is YouTube TV Cloud DVR?
YouTube TV DVR is the cloud-based recording feature provided by YouTube TV. Users can record live TV programs, movies, and other content they want to watch to cloud servers through this feature. Here’s more information about this feature.
- The Cloud DVR feature is included in the YouTube TV plan. Users can enjoy the unlimited cloud storage DVR feature without having to pay an additional fee.
- The recorded content will be saved for 9 months and users can watch it at any time; after 9 months, the content will be removed.
- Each YouTube TV account can create up to 6 personal profiles. Family accounts within this plan can create their own DVR content library. And users can play DVR content through 3 devices at the same time.
Part 2: How to Record Live TV on YouTube TV with DVR?
YouTube TV DVR is easy to operate. Here are steps on how to record on YouTube TV:
Step 1: Visit YouTube TV and log in. Then, click the icon on the top right corner of the page, and enter the live TV you want to record.

Step 2: After finding the target program, click “+”, and the program will be added to your library, and the system will automatically record future broadcasts of this program.

Step 3: Click on the “LIBRARY” in the main menu, then select “NEW IN YOUR LIBRARY” to watch the recorded programs. Here, you can play the recorded content at any time.

Part 3: DVR Recording Limits on YouTube TV
Although it’s convenient to record content via YouTube TV DVR, there are still limitations that may affect your viewing experience.
Limitations
- The content cannot be kept for a long time. According to the official policy, the recorded content is usually saved for 9 months. After this period, the videos will be removed from the database and cannot be restored.
- You can only record the content listed in the live TV channel schedule of your current location. If you leave this region due to travel or business, some programs may not be able to record or watch.
- If you cancel your YouTube TV plan, the cloud DVR will stop as well. And the content recorded by the DVR can only be viewed through the YouTube TV.
- YouTube TV DVR can only record to the cloud. The replay of the recordings always relies on a stable internet. It doesn’t provide offline viewing service.
Part 4: How to Work Around YouTube TV DVR Limits?
Although YouTube TV Cloud DVR offers a convenient recording feature, the limitations mentioned above may affect the needs of some users. For those who wish to save video content for as long as they want, professional third-party tools may be an alternative solution.
1. Use CleverGet Recorder

-
Free streaming video recorder to record online on-demand video and live streaming video without quality loss and cost.
- 100% free to use.
- Record movies, TV shows, game streams, lectures, live concerts, etc.
- Record up to 4K video with 60FPS in MP4 or MKV.
- Schedule recording upon preset recording length.
- No watermark, no time limit, and ad-skipping (beta).
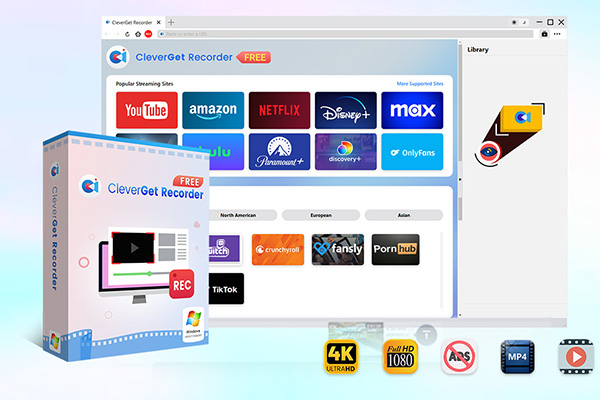
CleverGet Recorder is a free professional recording tool designed to help users record on Sling TV, YouTube TV and other streaming platforms. With this tool, you can avoid the DVR limitations of the platforms to record YouTube videos and save the recorded videos as local files. Here are the steps on how do you record on YouTube TV:
Step 1: Open CleverGet Recorder, click the settings and adjust the recording parameters according to your preference.

Step 2: Use the built-in browser to visit the YouTube TV live broadcast or on-demand content you wish to record, and start playing the video.
Step 3: When the video is playing, CleverGet Recorder will automatically detect the interface. Click the recording button on the toolbar to start recording. Click it again to stop the recording.

After the recording is completed, you can view the recorded video files through the file manager of CleverGet Recorder. These files can be stored as long as you want and are not affected by limitations of the platform.
2. Use CleverGet
-
An all-in-one video downloader toolkit that can save online videos including live streams and premium OTT content from over 1,000 sites at up to 8K resolution with an ad filter.
- Batch download movies, TV episodes of certain or all seasons, playlists, etc.
- Support multiple subtitle and audio tracks download selection.
- Record videos in the background at up to 5× speed and 4K resolution.
- Convert videos to MP4, MKV, MP3 or other formats.

CleverGet is a video download software designed to help users in downloading live streams and even DRM-protected content from major streaming services. With this tool, you can bypass the storage duration and subscription limitations of YouTube TV DVR and save content to your devices for later watching. Here are the steps on how do you record on YouTube TV:
Step 1: Open CleverGet, select “Settings”, you can set parameters according to your preference, and click “Save” to complete the settings.

Step 2: Use the built-in browser, enter the website address of the platform to find the target video.
Step 3: Once you play the content, CleverGet will detect the available video resources on the page and display the download button. Then click the “Download” button to start the download.

You can check the download status in the task management window. After the download is completed, the content will be saved to the folder you have preset.
Part 5: FAQs
1. Can I skip ads on live TV recordings?
Yes, but there are certain limitations. YouTube TV may replace your DVR-recorded version with the VOD version of the program due to contract provision with content providers. The VOD version usually includes ads that cannot be able to skip. But if you record through CleverGet Recorder you can skip ads when you watch the recorded content.
2. Can I keep recordings forever?
This depends on the recording methods you use. The recorded content provided by YouTube TV DVR can be kept for 9 months. However, with recording tools like CleverGet Recorder, you can save it for as long as you want. These recorded contents will not be affected by the platform as well.
3. What happens if I cancel YouTube TV?
After canceling the YouTube TV plan, access to the content library will remain until the end of the billing cycle. Your cloud DVR recorded content will be saved for 21 days. During this period, you can watch these videos, but you cannot download or record new content. After 21 days, all the recorded videos will be removed and cannot be restored. Any paid additional services such as HBO Max will also end as the billing cycle ends.
4. Can I share DVR recordings with others?
Yes, but you can only share the contents with members of the same YouTube TV family account. YouTube TV does not support sharing DVR recordings with users outside the family account or exporting the video files to be shared with others. All video content can only be accessed online within the platform by authorized family members and devices.
-
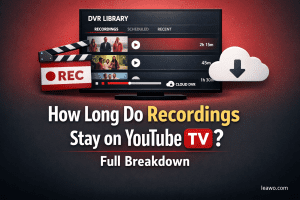
How Long Do Recordings Stay on YouTube TV? Full Breakdown
-
AnyBurn Review: Is This Free Burner Enough
-
3 Best Ways to Download All Videos from YouTube Channel
-
DVDFab DVD Creator Review: Read Before Buying
-
Windows Media Player Review: Is It Working on Windows 11?
-
6 Best Tools to Download YouTube Playlist Fast
-
Detailed Review: Is KeepStreams Safe? Is it Worth Trying?
-
How to Record a YouTube Live Stream on Any Device (Step-by-Step Guide)
-
Disney Plus HDCP Issue: Complete Troubleshooting & Fix Guide
-
How to Download Bilibili Videos? All Methods Explained


-
Best Twitter Porn Accounts You Shouldn’t Miss
-
How to Download Pornhub Videos? Ways to Download from Pornhub
-
Top 5 OnlyFans Viewer Tools to View OnlyFans Content for Free
-
Full Review of Savethevideo: Is Savethevideo Safe & How to Use it?
-
How to Download MissAV Porn Videos in HD for Offline Viewing?
-
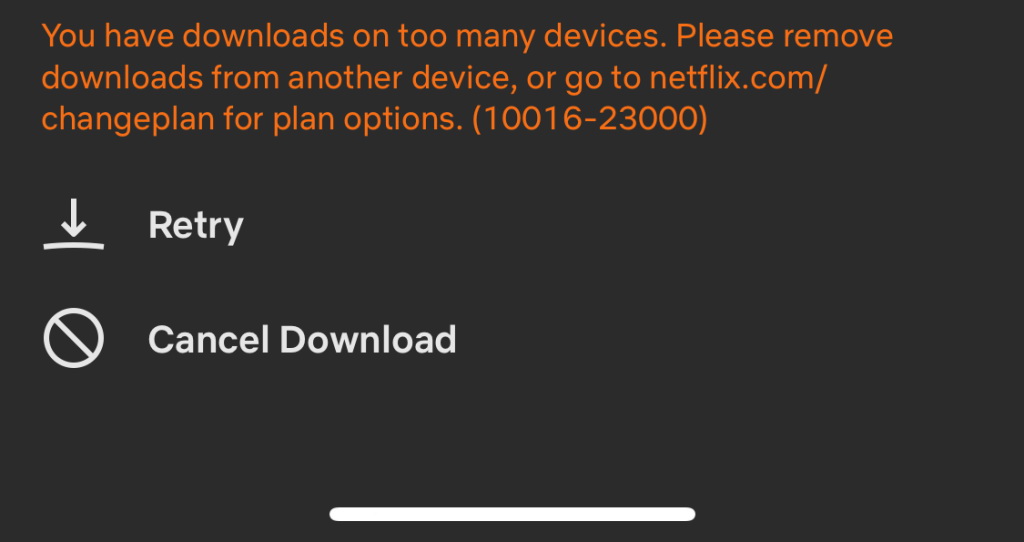
Netflix Download Limit: What it is & How to Avoid
-
How to Import Bookmarks from Safari to Chrome
-
Full Guide to YouTube Members Only Videos: Watch, Download
-
How to Download Videos from Fansly with Fansly Downloader
-
4 Methods to Burn ISO Files to Blu-ray Discs Easily