Summary:
I will share five essential tips with you from choosing the right hardware to tweaking your settings. Believe me, making these tweaks can seriously change your experience!
I still remember the first time I jumped into making gaming videos. Unfortunately, I got a video with bad quality and fuzzy sound. I bet a lot of you who are new to screen recording can relate to this kind of disaster. After that, I started a ton of time testing to solve the problems. Now, I figure things out. I will tell all I know about recording in this article. You can find some useful methods and tools for your video recording.
MenuCLOSE
- Factors That Impact Recording Quality
- 5 Tips for Improving Video Recording Quality
- Tip 1: Optimize Your Hardware Setup
- Tip 2: Adjust Recording Settings for Optimal Quality
- Tip 3: Choose the Right Recording Tool
- Tip 4: Ensure Sufficient Storage and Processing Power
- Tip 5: Check Recordings
- How to Improve Video Recording Quality with CleverGet Recorder
- Conclusion

Part 1: Factors That Impact Recording Quality
You know, making a really good screen recording is about way more than just pressing that “Record” button. Some unexpected errors might happen.
1. The Default Settings Trap
Sticking with your software’s default settings might give you low-quality “pseudo-HD.” What does that look like? Text appears jagged on a full screen, fast scrolling turns blurry, and colors end up looking washed out.
2. Low-Quality Free Tool
Not all free recording tools are reliable. Some might crash out of nowhere halfway through, or stamp a giant, unremovable watermark right across your video—totally ruining the professional vibe.
3. Insufficient Disk Space and RAM
Did you check your disk space and RAM beforehand? If your storage runs out mid-recording, it just stops. And if your CPU gets overloaded, say hello to choppy and lagging footage.
4. Skipping Checks
Skipping pre- and post-recording checks is like hoping for the best. What if you end up with an hour-long video with no audio? Or what if your mouse cursor hid every important click? Don’t let skipped checks waste your effort.
Factors like hardware, setting, tool, and habit are essential to the final videos. So we can know a good recording needs much knowledge and preparation.
Part 2: Tips for Improving Video Recording Quality
After many trials and errors, I summarized them in five essential tips:
Tip 1: Optimize Your Hardware Setup
Do you want to drastically improve your recording quality? Start with your hardware. A basic USB condenser microphone can reduce noise and get clear voice quality. You’d better buy a well-configured computer to support stable recording.
Tip 2: Adjust Recording Settings for Optimal Quality
You should manually configure your recording settings. For reference only, you can set the resolution to 1080p and increase the frame rate to 60 fps. Finding the suitable settings for your video is important.
Tip 3: Choose the Right Recording Tool
I use CleverGet Recorder because it streamlines the entire process: its scheduled recording feature automatically stops after a set time, and its “Auto Stop” function saves the file once streaming playback ends—no need to monitor manually. I can even record the DRM-protected paid content in Netflix, YouTube, and other platforms with the tool.
Tip 4: Ensure Sufficient Storage and Processing Power
To avoid unexpected interruptions, you’d better make sure your disk keeps at least 20 GB free. And, you need to close unnecessary background applications to reserve CPU and memory resources for recording.
Tip 5: Check Recordings
To record a 30-second test clip and play is a good method to confirm both microphone and system audio are being captured. This can avoid many devastating mistakes, like recording an entire video without sound.
Part 3: How to Improve Video Recording Quality with CleverGet Recorder
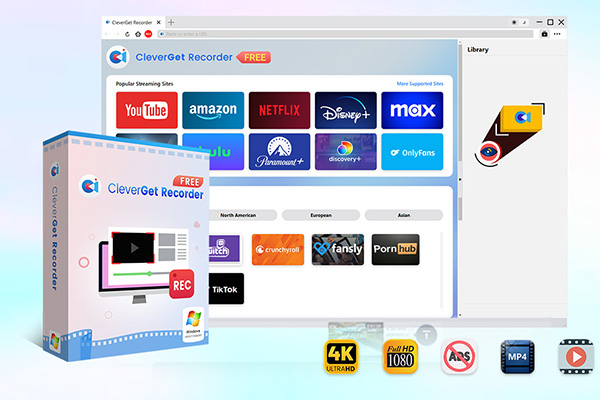
Now, I’d like to introduce you to CleverGet Recorder, a professional-grade recording tool designed specifically for today’s digital environment.

-
Free streaming video recorder to record online on-demand video and live streaming video without quality loss and cost.
- 100% free to use.
- Record movies, TV shows, game streams, lectures, live concerts, etc.
- Record up to 4K video with 60FPS in MP4 or MKV.
- Schedule recording upon preset recording length.
- No watermark, no time limit, and ad-skipping (beta).
If you are interested in high-quality recording, here is the way to follow:
Step1.Download & Install
Get CleverGet Recorder from the official website. Install the software, then launch it to begin.
Step2. Adjust Settings

Click the three-dot icon → “Settings” to customize CleverGet according to your needs. Last but not least, click ‘Save’ to confirm all changes.
Record Tab:
- a.Format: You can select MP4 or MKV as the output format.
- b.Resolution: You can choose the recording quality up to 4K UHD.
- c.Recording Speed: Adjust the record speed from 1X (real-time) to 5X.
- d.Frame Rate: Original is recommended to match the source material’s frame rate.
- e.Save Location: You can decide where your recorded files will be stored.
Step3.Play Video & Set Preferences

Fire up your video right inside CleverGet Recorder. Once it starts playing, hit that red REC button. That’ll bring up your recording toolbar.If your video has subtitles or multiple audio tracks, you can choose the ones you want. Pick your recording speed, and toggle on ad filtering (just a heads-up: it’s still in beta!).
Step4.Start Recording

Click the “REC” button to begin. You can adjust the recording speed and ad filtering during the process without stopping. Playback may appear uneven at higher speeds, but your recorded video will remain smooth.
Step5.Stop & Manage Recordings

Click “Stop” when you’re done. Each recording is saved automatically. To review or manage your videos, open the Library sidebar where you can play, locate, or organize your files.
Part 4: Conclusion
Video recording is something that deserves careful consideration. You might be a mess just like I was at the beginning, but after reading this article, you’ll likely become more confident and in control. So what really separates a pro recording from a messy one? Your hardware, settings, tools, storage, and your own habits. And tools like CleverGet Recorder can provide you with more convenient features, giving you more time to focus on creating.
-
How Long Do Recordings Stay on YouTube TV? Full Breakdown
-
AnyBurn Review: Is This Free Burner Enough
-
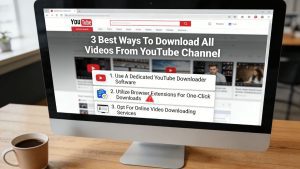
3 Best Ways to Download All Videos from YouTube Channel
-
DVDFab DVD Creator Review: Read Before Buying
-
Windows Media Player Review: Is It Working on Windows 11?
-
6 Best Tools to Download YouTube Playlist Fast
-
Detailed Review: Is KeepStreams Safe? Is it Worth Trying?
-
How to Record a YouTube Live Stream on Any Device (Step-by-Step Guide)
-
Disney Plus HDCP Issue: Complete Troubleshooting & Fix Guide
-
How to Download Bilibili Videos? All Methods Explained


-
Best Twitter Porn Accounts You Shouldn’t Miss
-
How to Download Pornhub Videos? Ways to Download from Pornhub
-
Top 5 OnlyFans Viewer Tools to View OnlyFans Content for Free
-
Full Review of Savethevideo: Is Savethevideo Safe & How to Use it?
-
How to Download MissAV Porn Videos in HD for Offline Viewing?
-
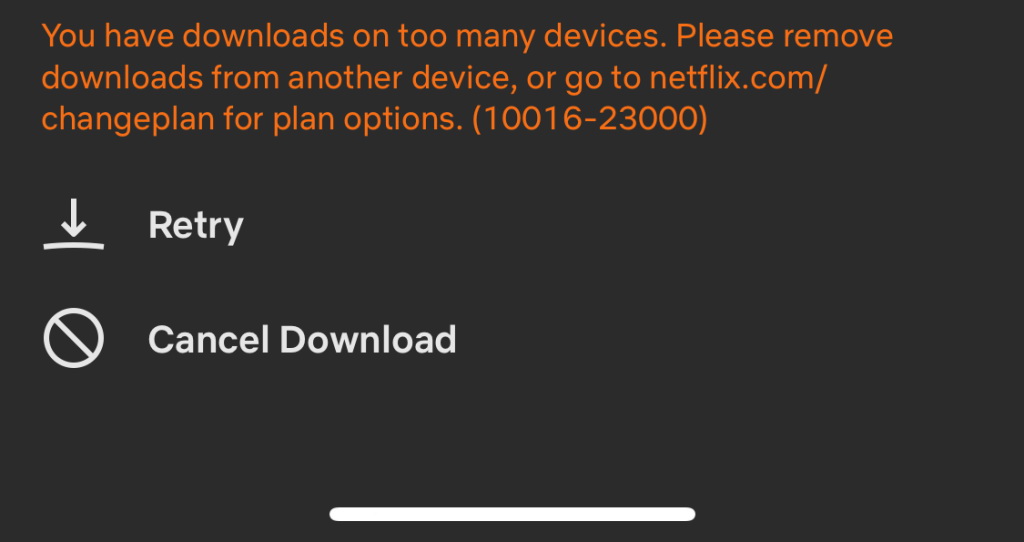
Netflix Download Limit: What it is & How to Avoid
-
How to Import Bookmarks from Safari to Chrome
-
Full Guide to YouTube Members Only Videos: Watch, Download
-
How to Download Videos from Fansly with Fansly Downloader
-
4 Methods to Burn ISO Files to Blu-ray Discs Easily