Some people may want to change the Disney+ app interface language to match their native language. Others may want to watch shows with other subtitles or audio in a different language. But sometimes they aren’t easy to find the settings, and they may differ by device. So, how to change the language on Disney+?
In this guide, we are going to show you how to do it step by step. And if you want to download Disney+ for offline viewing as well, we’ll share the best Disney Plus downloader for your non-interruptive offline viewing.
Outline
- Part 1: Content Language vs. Interface Language Settings
- Part 2: Changing Content Language on Disney Plus Within a Show or Movie
- Part 3: Changing the Content Language on the TV Device
- Part 4: Changing Interface Language on Disney Plus in Profile Settings
- Part 5: How to Use CleverGet Disney Plus Downloader with Preferred Languages
- Conclusion
Part 1: Content Language vs. Interface Language Settings
Many users don’t realize there is a difference between content language and interface language. This is why changing the language can be confusing at times. Before you learn how to change the language on Disney+, it helps to understand how each setting works.
1. The interface language, or we can say it app language, is the language of menu options, buttons, and profile settings.
2. The content language is the audio and subtitles used in shows and movies that the creator allows you to choose from different options.
3. When you change the language in the profile, it does not change the audio or subtitles of the content you were watching before.
4. Some devices use the system language, even if you set a different language in your Disney+ profile.
5. Changing the language in the profile does not always update the titles on your watchlist or “Continue Watching” section.
In order to understand how to change the language on Disney+, you need to look at both the content and interface settings. This is also true when you search how to change the language on Disney Plus on TV because the rules may vary depending on the device system.
Next, let’s look at how to change the content language on Disney+ inside a show or movie.
Part 2: Changing Content Language on Disney Plus Within a Show or Movie
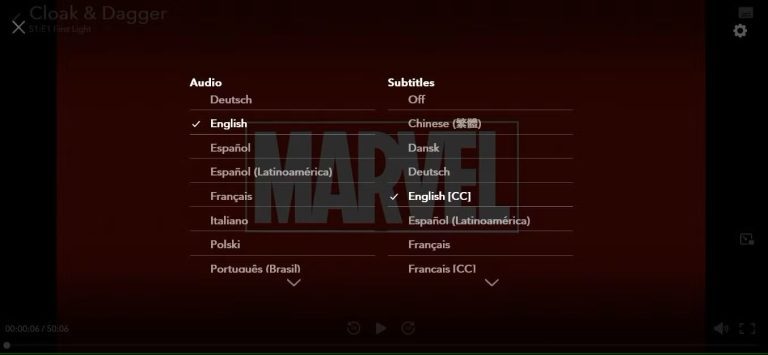
The steps are generally consistent across devices (e.g., phone, tablet, or browser). Here’s how to change audio language on Disney Plus or how to switch language on Disney Plus during playback:
Step 1: Play the show or movie you want to watch.
Step 2: Locate the audio and subtitles icon (usually a speech bubble or menu) on the screen.
Step 3: Click or tap on the icon.
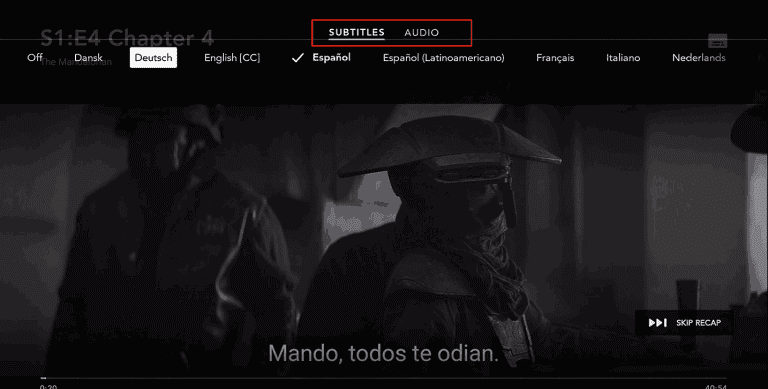
Step 4: You will see a list of audio languages and subtitle languages.
Step 5: Select your audio language and subtitle language as desired.
Step 6: The change will be immediate.
Part 3. Changing the Content Language on the TV Device
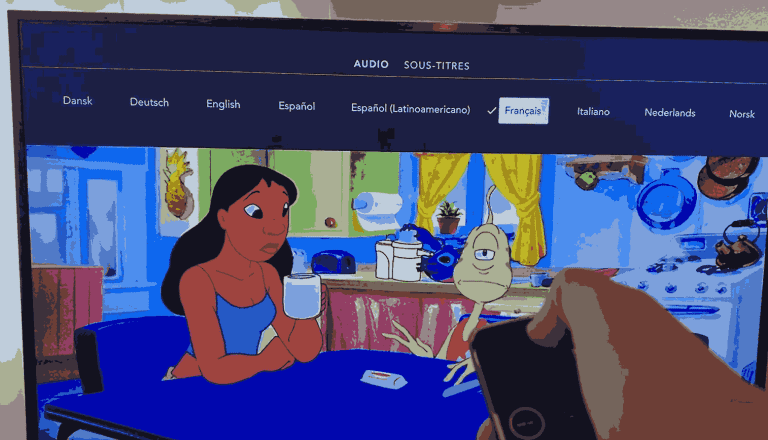
Changing the content language on TV devices is similar to phones or computers, but may be slightly different. TV remote controls different devices and can have different system menus. But overall, you can change the audio and subtitle options while streaming the show or movie. Here’s how to change the content language on popular TV devices:
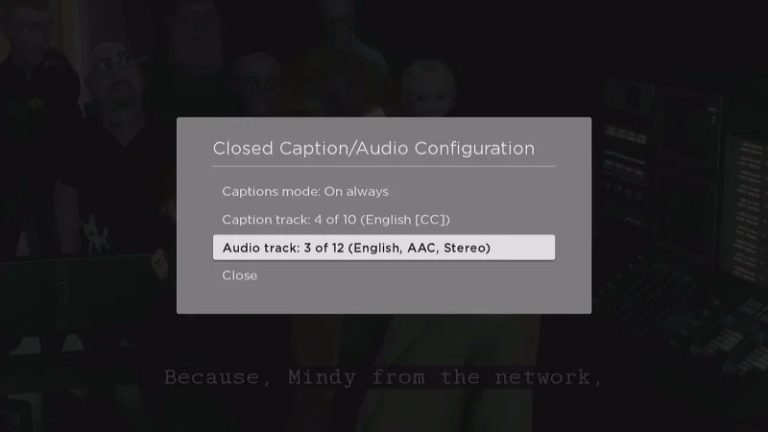
1. On Roku
Step 1: Start playing any show or movie on Disney+.
Step 2: While the video plays, press and hold the star (*) button on the Roku remote.
Step 3: A menu will appear on the screen. Use the arrow key to highlight the Caption Track or Audio Track.
Step 4: Use the left or right arrows to select your preferred audio language.
Step 5: Close the menu and continue watching.
2. On Apple TV
Step 1: Play a video on Disney+.
Step 2: Press the Play / Pause button on the Apple TV remote.
Step 3: Swipe up on the remote’s touchpad to reveal the audio and subtitle menu.
Step 4: Select your preferred audio or subtitle language.
3. On Fire TV
Step 1: Start playing a show or movie on Disney+.
Step 2: While playing, press the menu button or swipe to reveal the settings.
Step 3: Select the audio or subtitles option.
Step 4: Pick the language you wish.
Part 4: Changing Interface Language on Disney Plus in Profile Settings
After learning how to change the audio and subtitle language, let’s learn how to change the interface language. Before the steps, you may need to view the languages Disney+ supports because Disney+ doesn’t support all the languages that you may need.
1. Available Interface Language List
Disney Plus supports the following interface languages: Czech, Danish, Dutch, English (U.S. and U.K.), Finnish, French (Canada and France), German, Greek, Hungarian, Italian, Japanese, Korean, Norwegian, Polish, Portuguese (Brazil and Portugal), Romanian, Slovak, Spanish (Latin America and Spain), Swedish, Turkish, Chinese (Simplified), Chinese (Traditional), Chinese (Hong Kong).
2. Change the Interface Language in Profile
You can change the Disney+ app language in your profile settings. This will update the language of the menus and buttons across the app. The steps are for all the devices, no matter what you use.
Here’s how to change the language on Disney+ through your profile:
Step 1: Open Disney Plus and log in to your account.
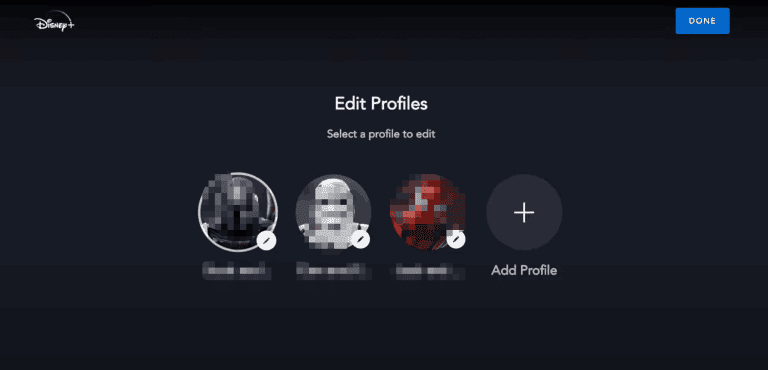
Step 2: Click or tap your profile icon in the top right corner to enter the profile settings section.
Step 3: Choose one profile to edit.
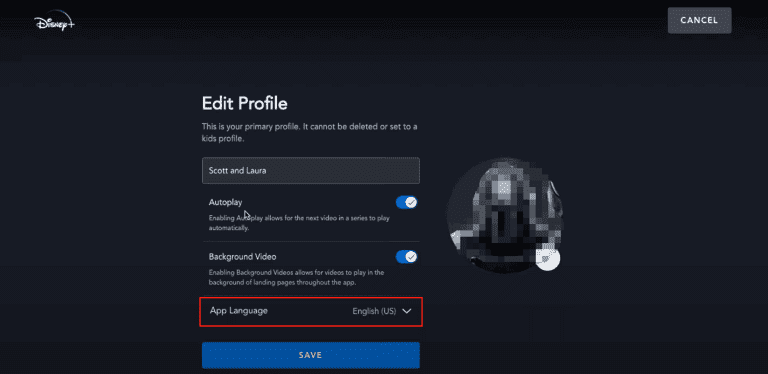
Step 4: Scroll down and find the App Language or Interface Language setting.
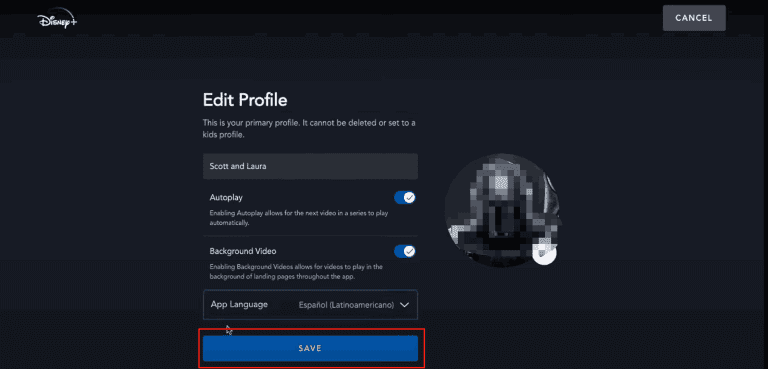
Step 5: Pick your preferred language from the list.
Step 6: Save your changes and go back to the home screen.
Step 7: Now, the Disney+ app will show the interface in the new language.
Part 5: How to Use CleverGet Disney Plus Downloader with Preferred Languages
At times, you may want to change the language on your device, but you also want to be able to watch videos offline, in your preferred language. This is where CleverGet Disney Plus Downloader helps out.
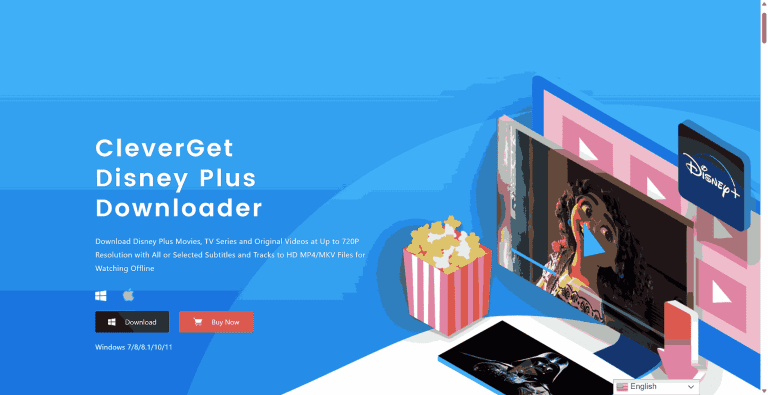
With CleverGet, you can download movies and shows from Disney+ to your device in high quality, up to 720P. You are able to select your preferred audio and subtitle languages before you download. This way, you can watch your favorite content all offline, in the language that you are comfortable with, and without needing to change any settings.

-
CleverGet Disney Plus Downloader
-Support Disney+ Movies and Shows Download
-Download 720p/1080p Disney+ HD Videos Without Quality Loss
-Save Disney Plus Movies in MP4 or MKV Files
-Reserve Multi-Language Audio Track & Subtitles
-Remux Subtitles to Video
Here are the main features of CleverGet that make it stand out:
Download Disney+ movies as MP4 or MKV, for seamless playback across every device
Keep multiple audio tracks and subtitles, including the option of internal or external subtitles
Choose your preferred language (for both audio and subtitles) before downloading.
Download entire seasons or multiple episodes in batch mode
Enables faster, stable downloads via a built-in GPU acceleration
This is helpful not just for watching offline, but also to bypass Disney Plus download limits. No more worry about how long a show stays online or how many times you can re-download. With CleverGet Disney Plus Downloader, you have full control over how to save and enjoy your favourite shows in your own language. Now, follow the steps to start using it.
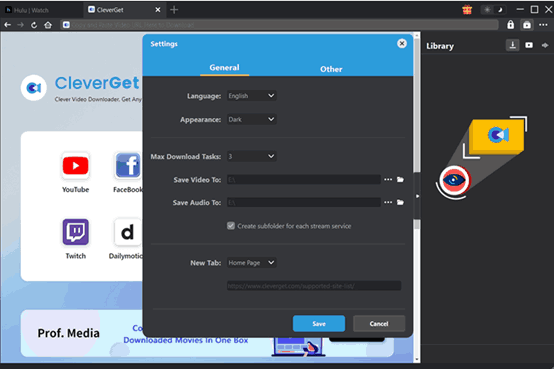
Step 1: Configure Your Preferences
1. Click the three-dot icon in the upper right-hand corner and select "Settings."
2. In the General tab, set your app language and appearance for CleverGet.
3. Select your output folder and how many downloads you want to run simultaneously.
4. When ready, click "Save."
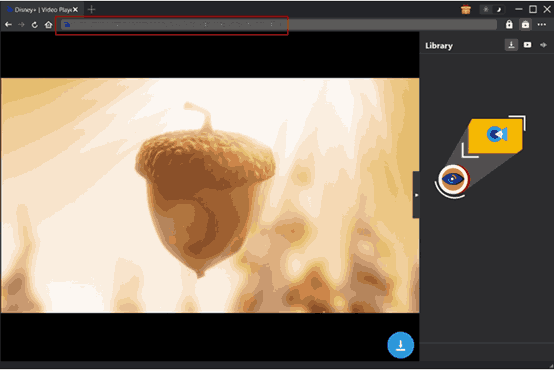
Step 2: Play the Video You Want
1. You can use CleverGet’s built-in browser to visit disneyplus.com and log in to your Disney+ account. You can also just paste the full video URL into the address bar.
2. Start playing the movie or show you want to download.
3. Once the playback page has loaded, CleverGet will parse the video automatically.
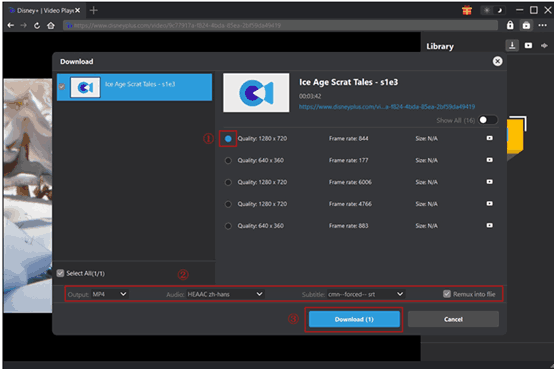
Step 3: Select Language and Download.
1. A download window will appear. Choose the video quality, audio language, and subtitle language.
2. You may keep subtitles in the video or download them as an external file (SRT or SUP). Click "Download".
Step 4: Check on and Access Your Downloads
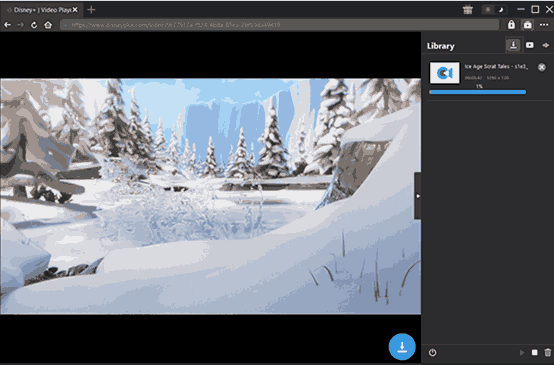
1. Go to the download panel to monitor the progress of your downloads. You can pause or cancel any download at any time.
2. Once the download is complete, double-click the file to watch it or select “Open Folder” to find it.
3. Now, you can enjoy your Disney+ content offline, in your chosen language, without any limits.
Conclusion
Whether you’re changing the audio or subtitles on a movie or you’re simply changing the language of the app menu to one you are more comfortable with, the process is really quite straightforward and simple on phones, browsers, and smart TVs. Just follow the guide, you’ll know how to do that.
However, streaming isn’t always convenient, especially when you travel, lose an internet connection, or discover that your favourite titles have been removed. So, in this case, you need CleverGet Disney Plus Downloader. With this tool, you can download Disney+ videos in your desired language with full subtitles and audio tracks. You will never again have to worry about your content going missing or watching it with the wrong language settings. Take control of your Disney+ viewing. Download CleverGet and start watching your favourite shows offline, your way!
