

Leawo iOS Data Recovery User Guide
Leawo iOS Data Recovery is multifunctional data recovery software for all mac users. The software helps users recover the lost data of their iPhone, iPad and iPod touch with ease. The iPhone data recovery software for Mac enables users to recover lost files from iOS devices and iTunes backups, and recover lost data form iPhone 4 and iPod touch 4 under DFU mode. Users are able to recover up to 12 kinds of files with Leawo iOS Data Recovery for Mac, including contacts, messages (SMS/MMS messages), iMessages, calendar, voice memos, photos, videos, call history, notes, reminders and Safari bookmarks. The following guidance divides into three parts: how to recover files from iOS device, how to recover files from iTunes backup and how to recover files under DFU mode.


Recovery Mode 1: How to Recover Files from iTunes Backup?
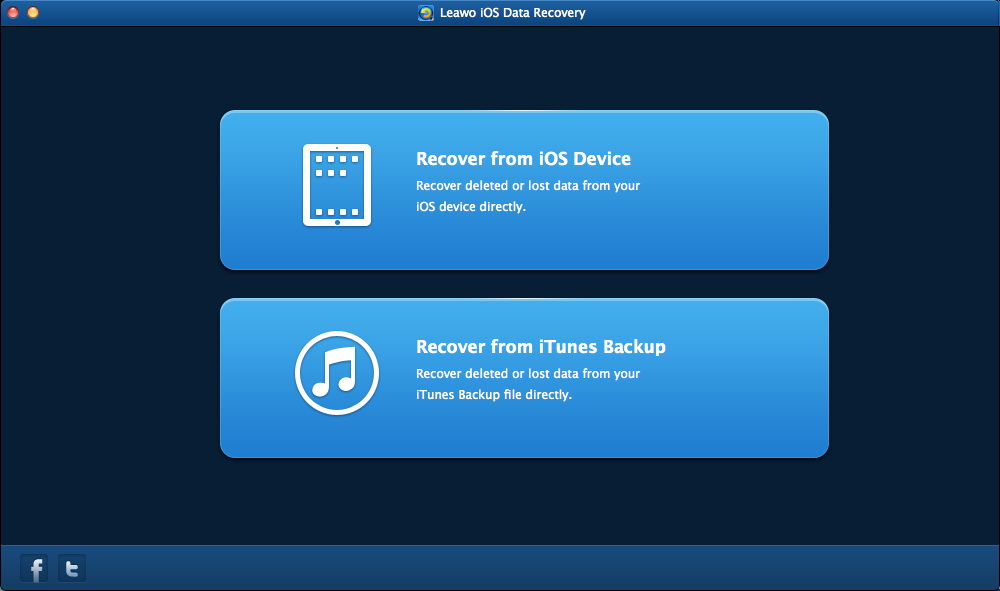
Step 1Run Leawo iOS Data Recovery
Run the software after installing it on the MacBook. The software inquires whether you want to recover from the iOS device or iTunes backup. Click “Recover from iTunes Backup” and a quick scan starts. When the scan is done, all the backups in your iTunes will be shown in the right part of the window.
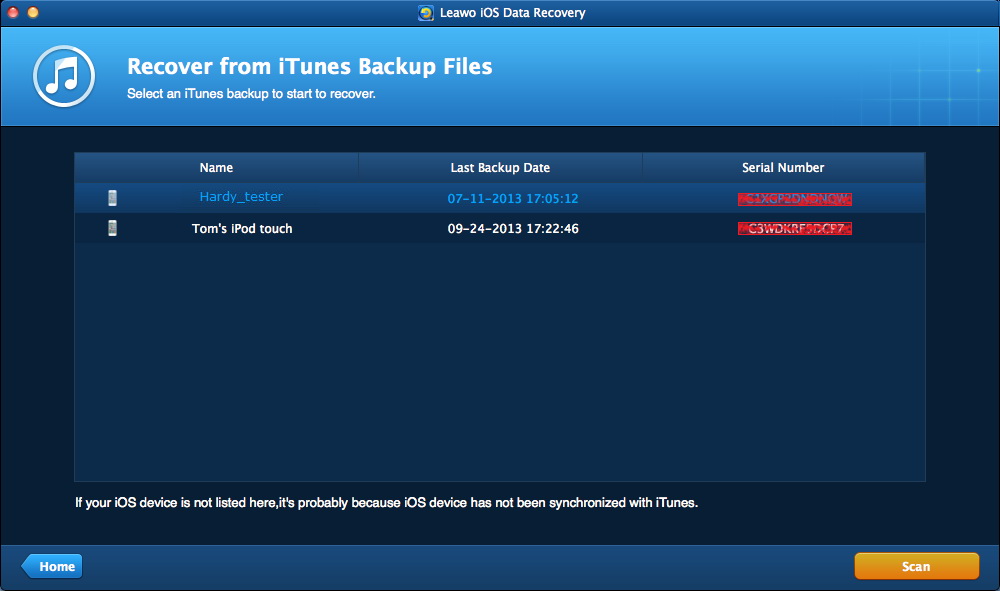
Step 2Select a Backup and Choose Files
Check one backup that is in need and click “Scan” button at the right bottom. The deep scan of the iTunes backup begins.
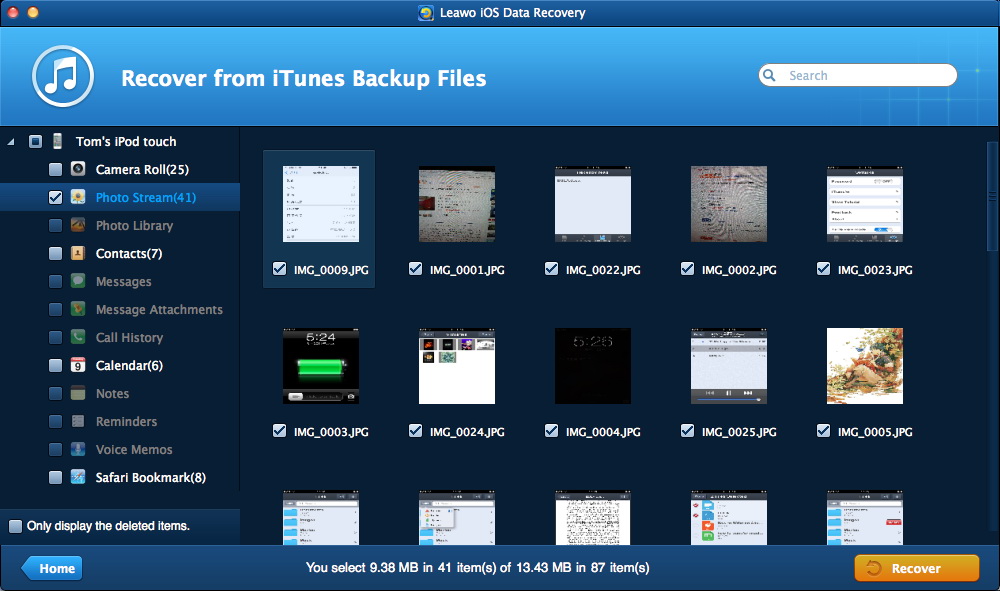
When the scan is finished, the categories that you are able to recover will be shown in the left sidebar of the window. Check a category to recover all the files from it. Or check certain files in the category to recover.
Step 3Choose Target Folder to Save the Exported Files
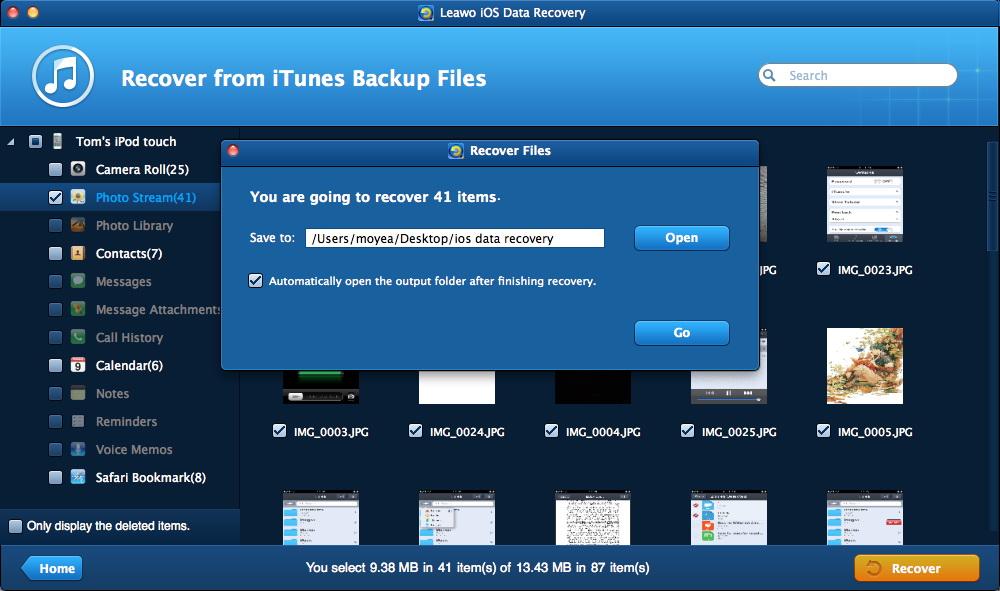
After choosing files, click “Recover” button at the right bottom of the window, and then the dialog pops up. Click “Open” in the dialog to choose a folder to save the exported files. If you want to manage the files immediately after the recovery, check “Automatically open the output folder after finishing recovering”. Click “Go” to start the recovery.
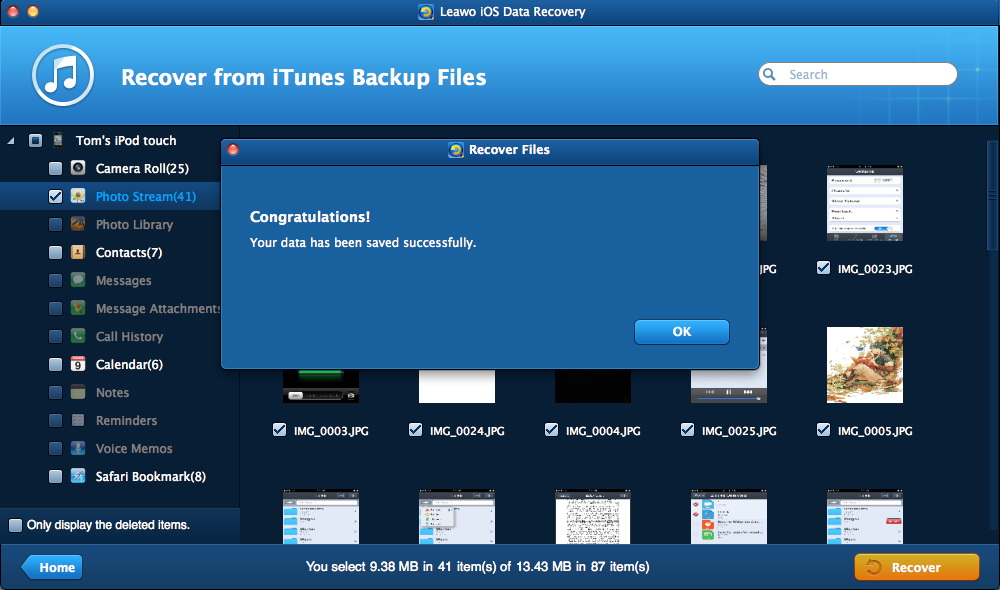
Step 4Recovering Lost Data from iTunes Backup
When the recovery starts, a dialog shows up and the progress bar notices the percentage of the recovery process. When the recovery finishes, the target folder which has been chosen will pop up. You are able to manage the exported files with ease.