

Leawo UHD Ripper User Guide
Leawo UHD Ripper is a professional 4K UHD Blu-ray ripping software tool to decrypt, rip and convert 4K Blu-ray disc, folder and ISO image file file to video/audio files in lossless quality. Follow the below user guide to learn how to use Leawo UHD Ripper.


- Home
- >
- Leawo UHD Ripper
- Leawo UHD Ripper for Mac
- >
- User Guide
Leawo UHD Ripper User Guide
If you have 4K UHD Blu-ray discs, and would like to watch these 4K Blu-ray discs on digital devices like your 4K TV without 4K Blu-ray drive, Leawo UHD Ripper would be of great help. As a professional 4K Blu-ray ripping software, Leawo UHD Ripper could help you decrypt, rip and convert 4K UHD Blu-ray discs, folders and ISO image files to digital video/audio files in various formats like lossless MKV/MP4, 4K MP4/MKV, 1080P MP4/MKV/MOV/WMV/AVI, etc. It helps you easily play and watch 4K UHD Blu-ray movies on regular media players and devices, no matter your 4K Blu-ray contents are encrypted or not. The below guide would show you how to rip and convert 4K UHD Blu-ray content to digital video/audio files with Leawo UHD Ripper in detail.
Step 1: Enter Leawo UHD Ripper module
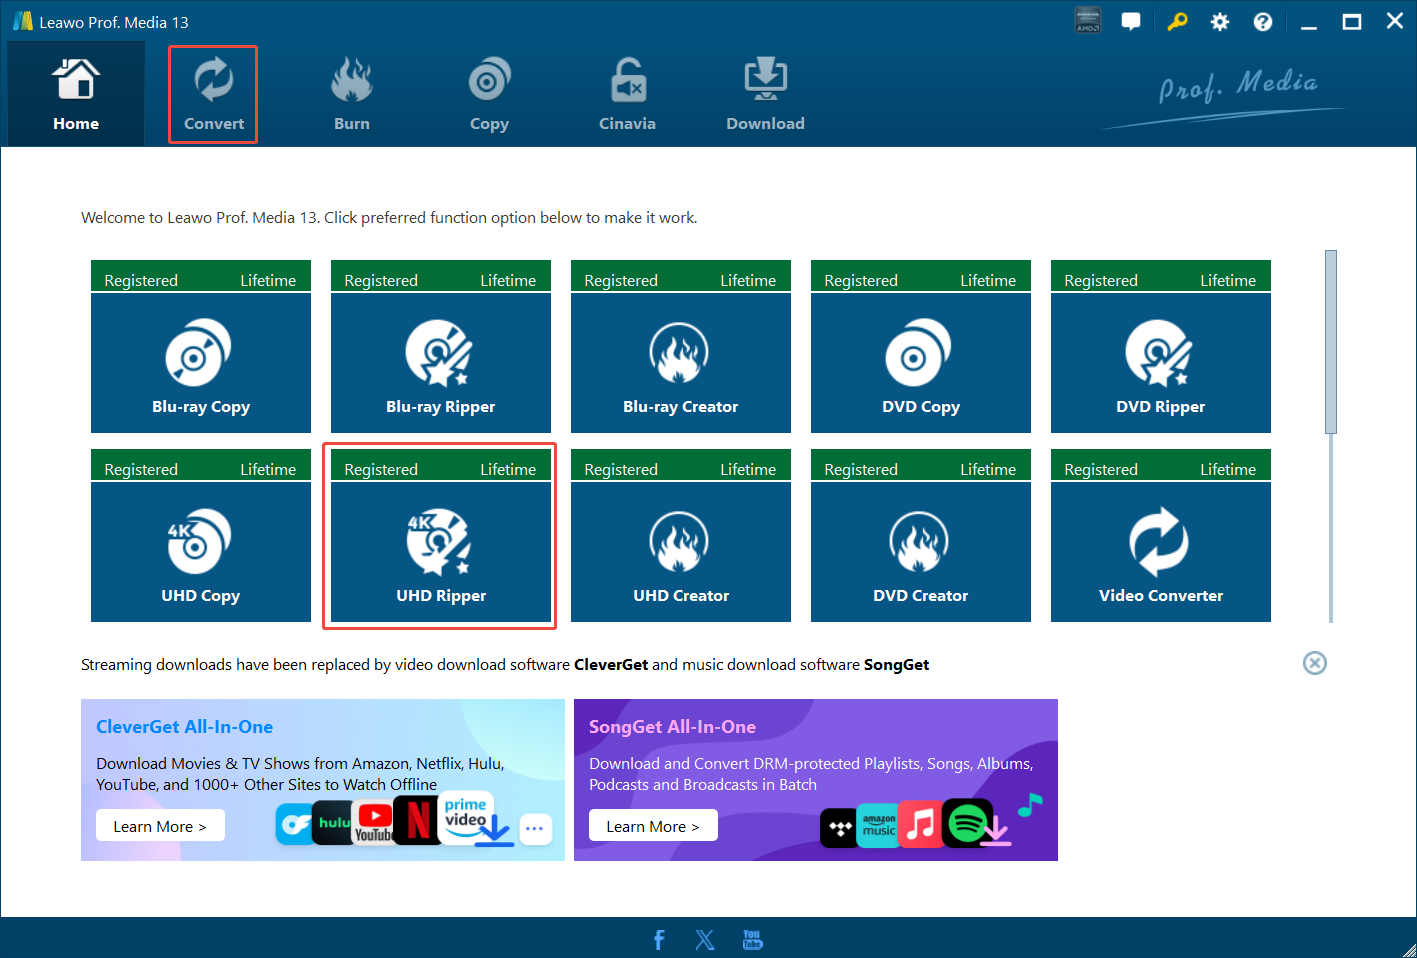
Download, install and kick off Leawo Prof. Media (UHD Ripper is a module built in Prof. Media). on the “Home” page, click the “UHD Ripper” option, or directly click the “Convert” tab right next to the “Home” tab, to enter the UHD Ripper module.
Step 2: Add source 4K Blu-ray content
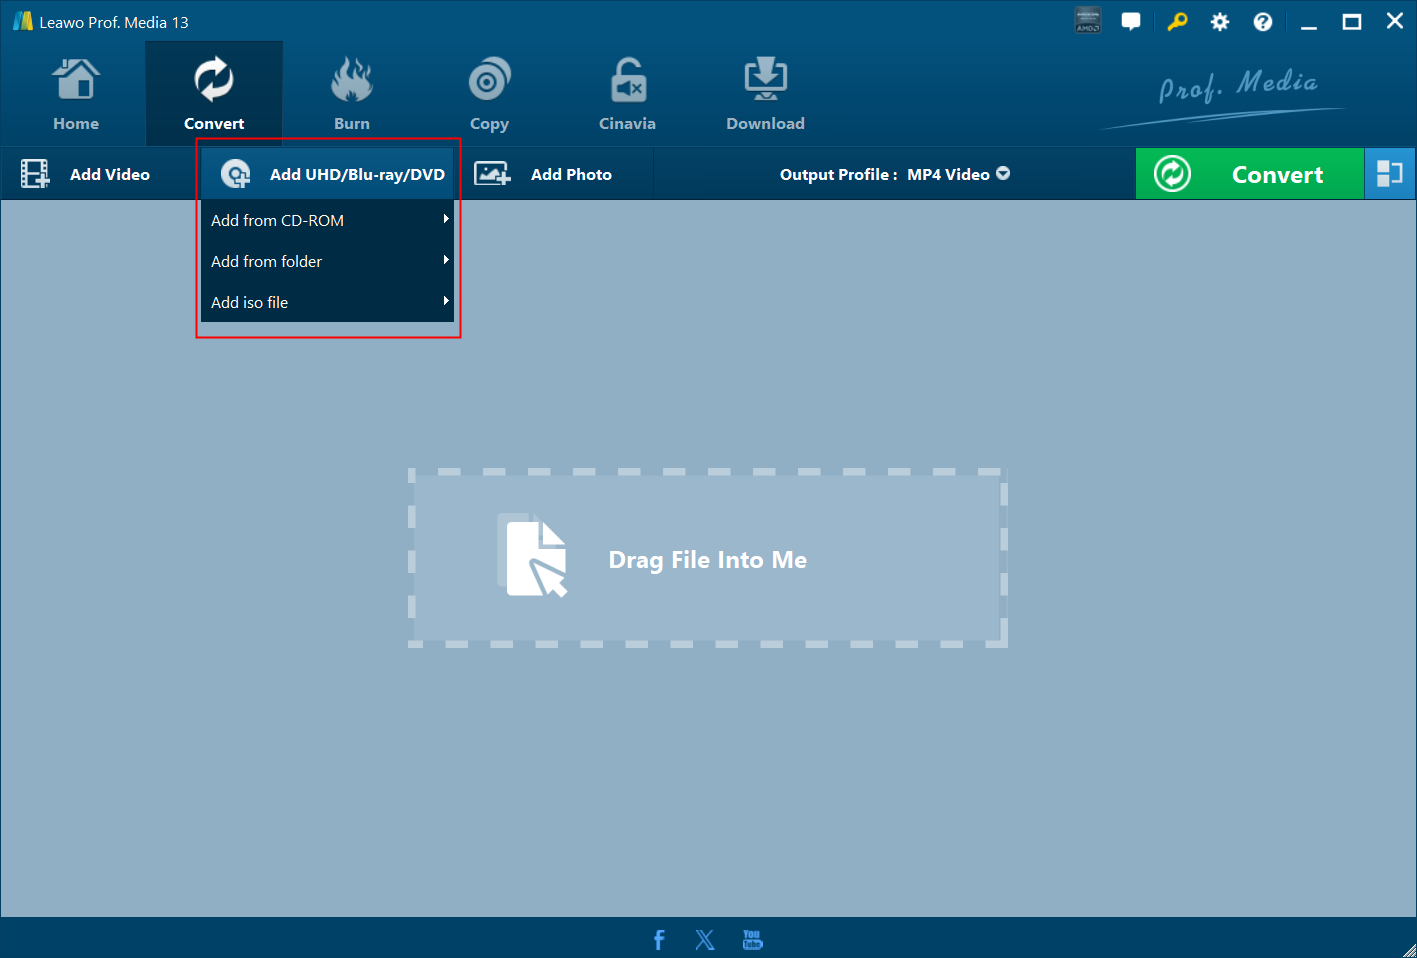
On the “Convert” tab, click the “Add UHD/Blu-ray/DVD” button and then on the drop-down menu choose whether to load source UHD Blu-ray content from UHD Blu-ray drive, computer folder or ISO image file. You could load source UHD Blu-ray disc, folder or ISO image file at will.

After loading source UHD Blu-ray content, Leawo UHD Ripper provides 3 different content loading modes: Full Movie, Main Movie and Custom Mode. Choose the one that meets your needs.
● Full Movie: Load all contents from source UHD Blu-ray content.
● Main Movie: Load the main title (the longest title by default), but allows you to switch to other title.
● Custom Mode: Load selected titles upon your need for converting from source UHD Blu-ray content.
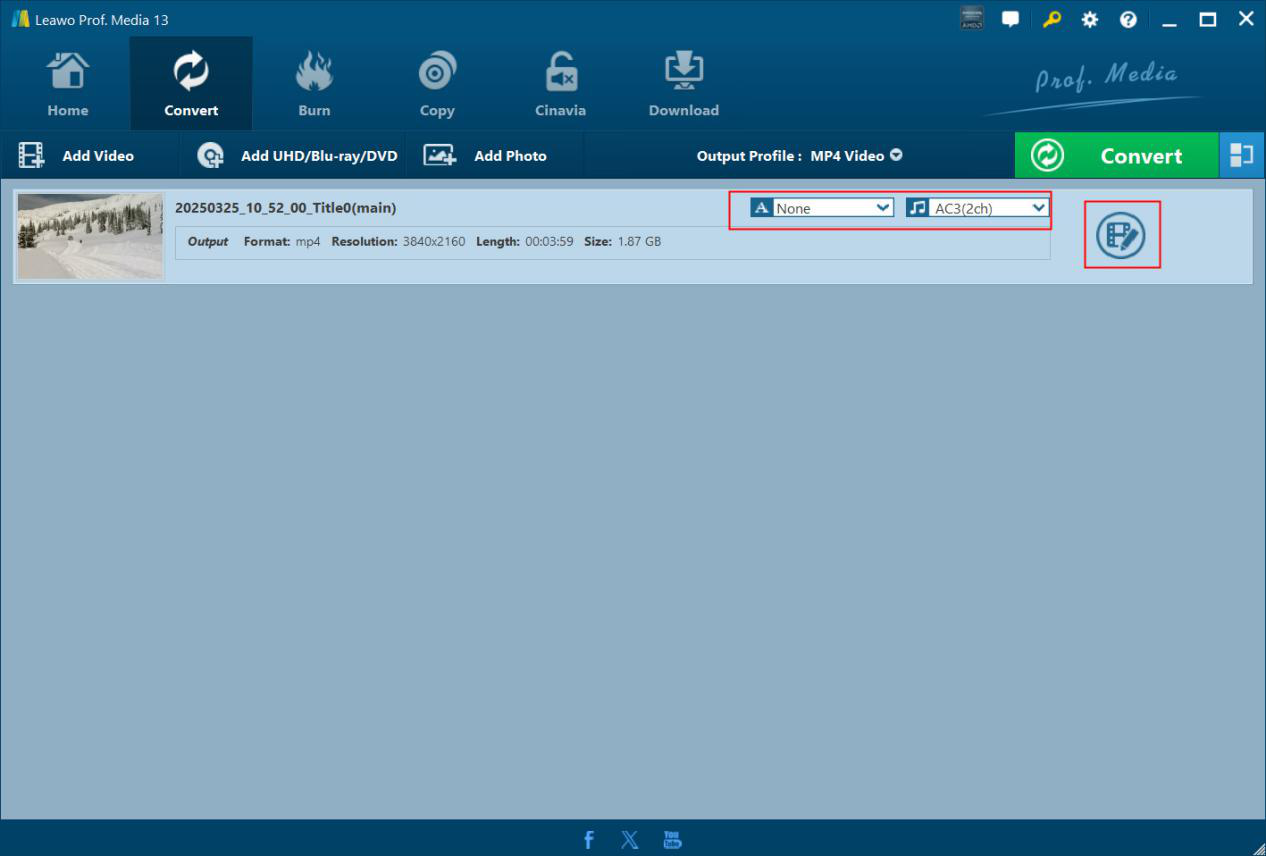
After you have chosen the loading mode, Leawo UHD Ripper will load source UHD Blu-ray contents for converting. You then could select subtitles and audio tracks from source 4K Blu-ray content, play back loaded content, click the “Edit” button to edit source 4K Blu-ray movie, merge multiple titles into one, etc.
Step 3: Edit source 4K Blu-ray title (optional)
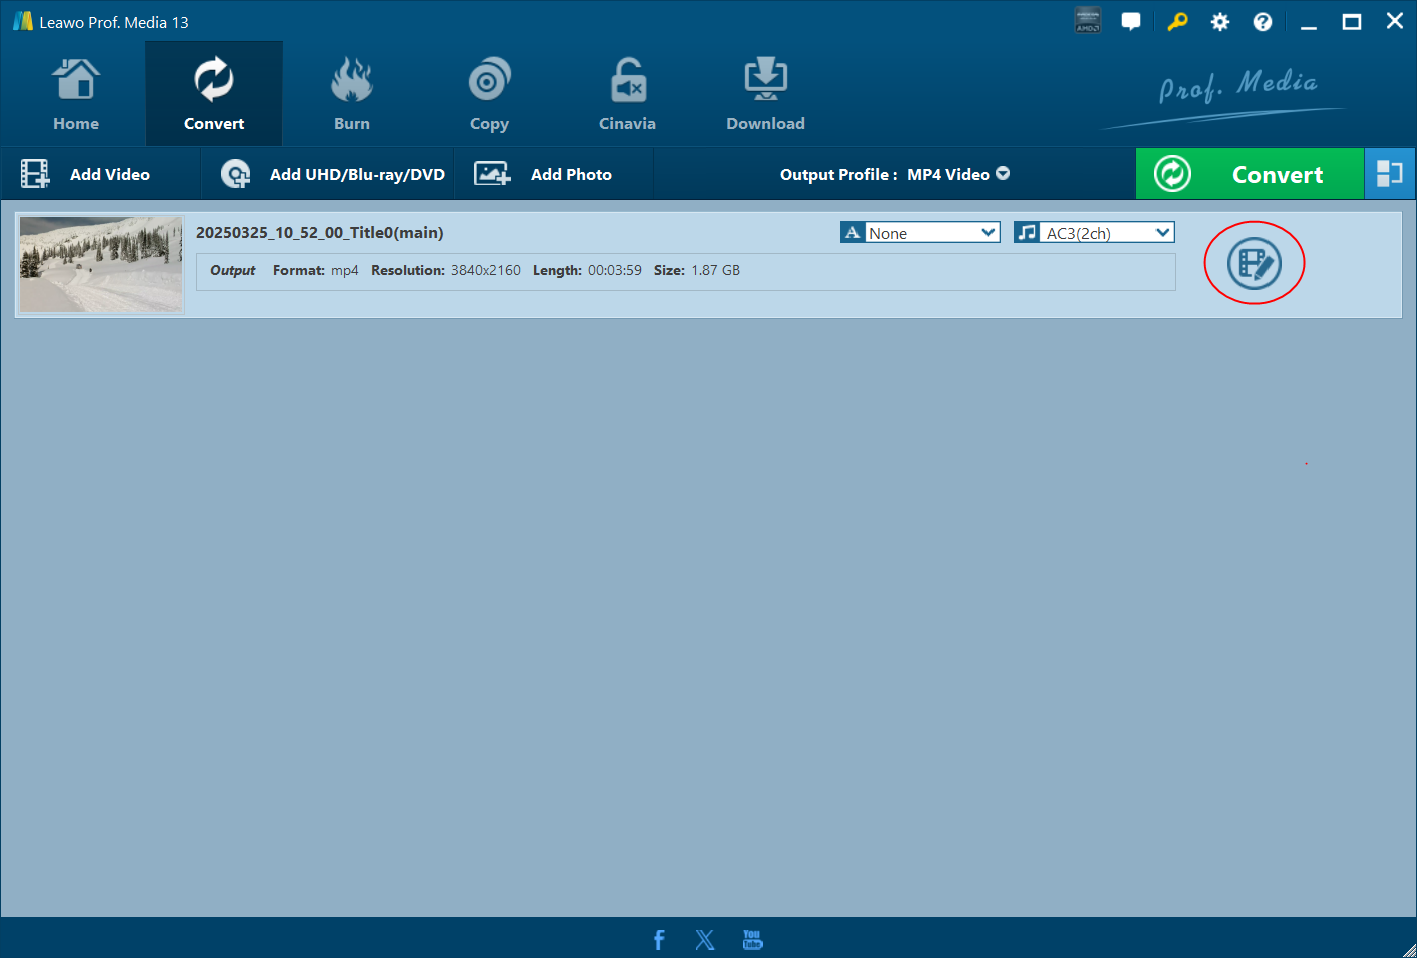
You could click the “Edit” icon to enter the editing panel to edit source 4K Blu-ray title.
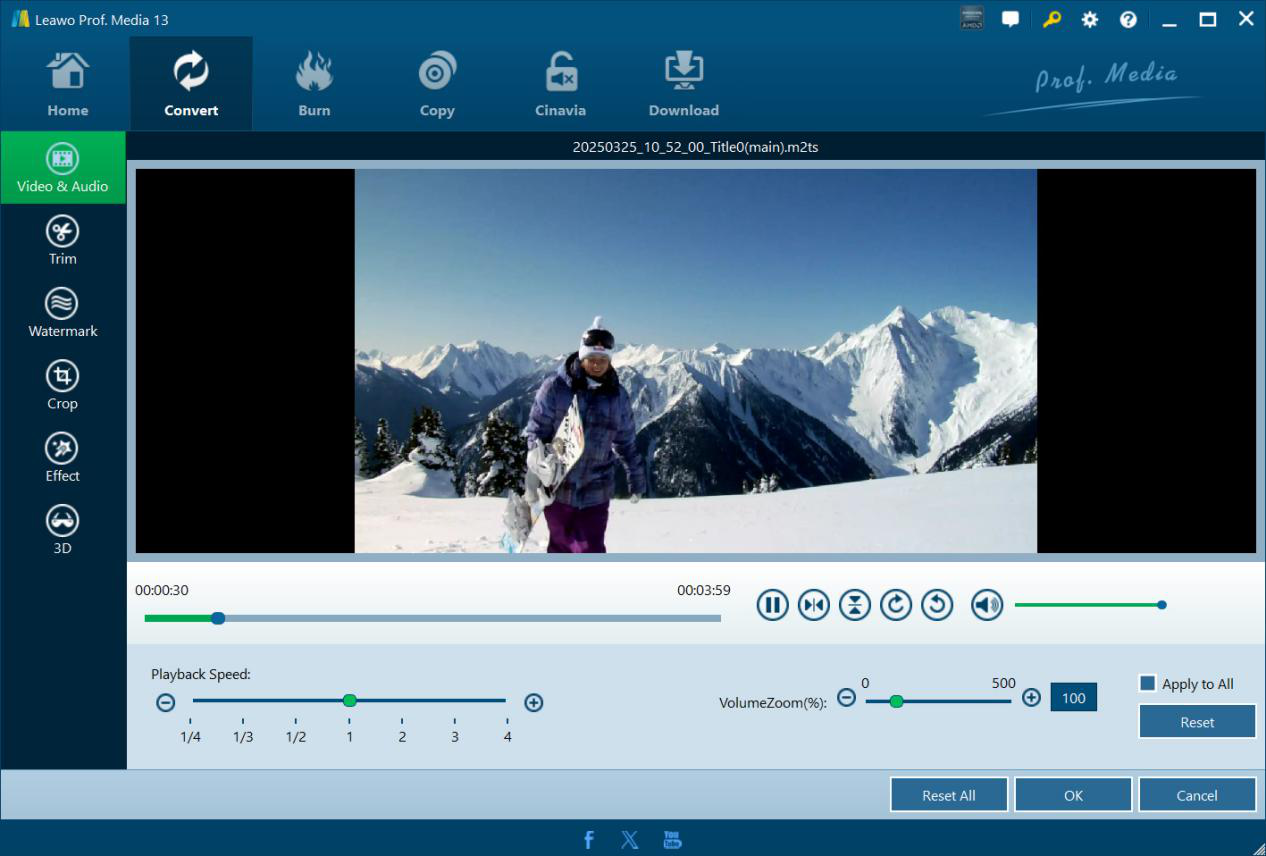
There are quite a few editing features available, as listed below:
● Video&Audio: Adjust video playback speed, rotate video angle, set Volume Zoom, etc.
● Trim: Trim video length to remove unwanted clips and convert only what you need.
● Watermark: Add image or text watermark, and set the parameters of watermark.
● Crop: Crop video size to remove black margin.
● Effect: Adjust video brightness, contrast and saturation.
● 3D: Apply 3D movie effect from 6 preset 3D models, and adjust 3D depth for more vivid effect.
Step 4: Set output format
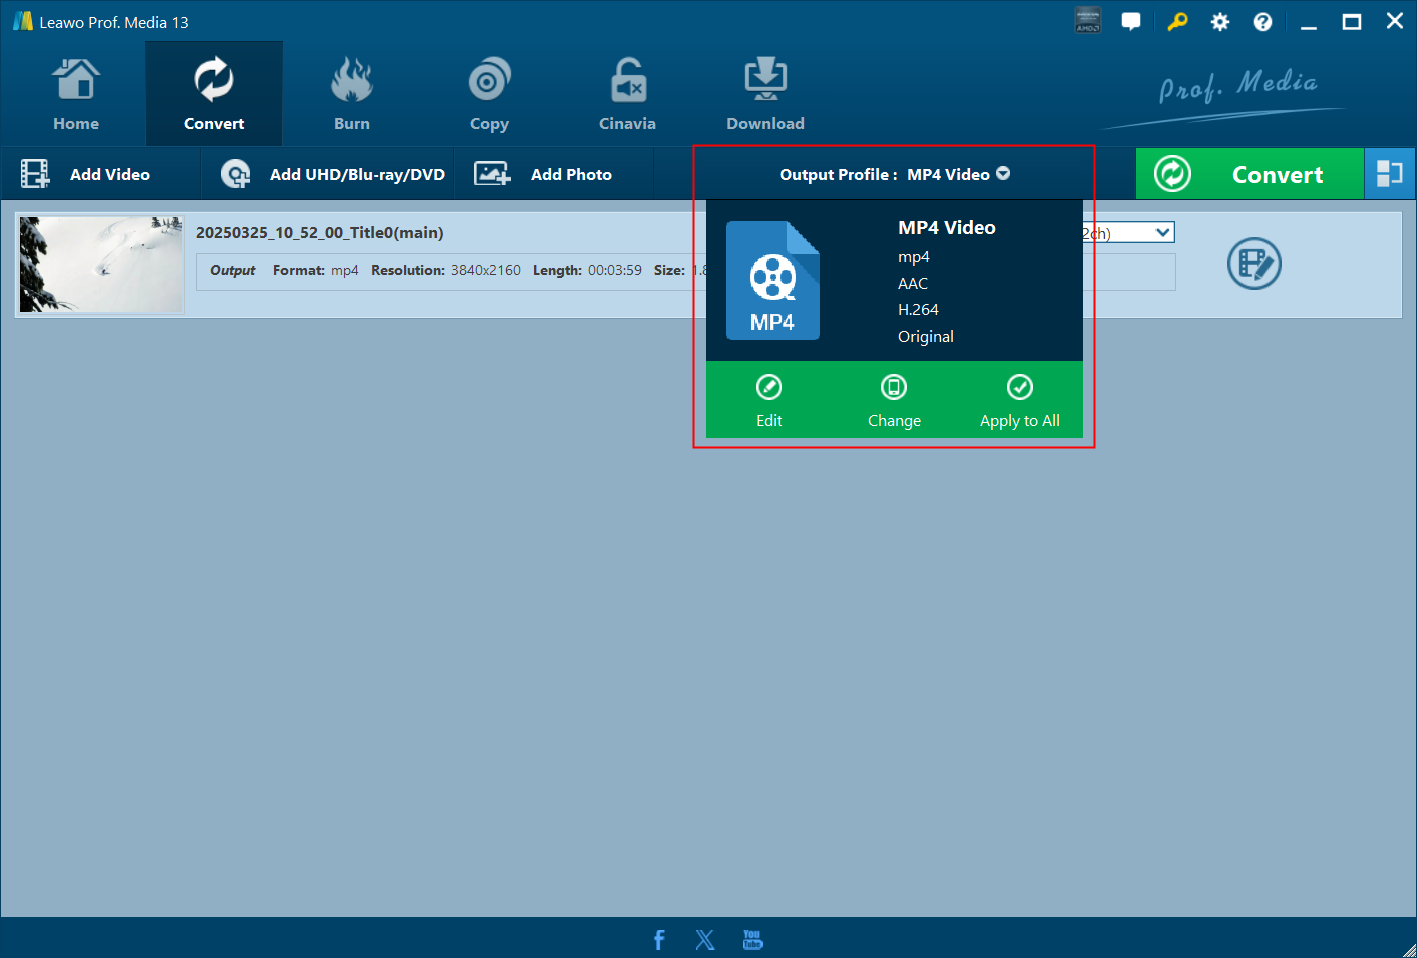
Then, you need to set the output format for converting 4K Blu-ray contents. Click the “Output Profile: MP4 Video” (which is the default display and may change if you have set another profile as output profile) drop-down button and then choose “Change” option to enter the “Profile” window, where you need to select output format from either “Format” or “Device” tab.
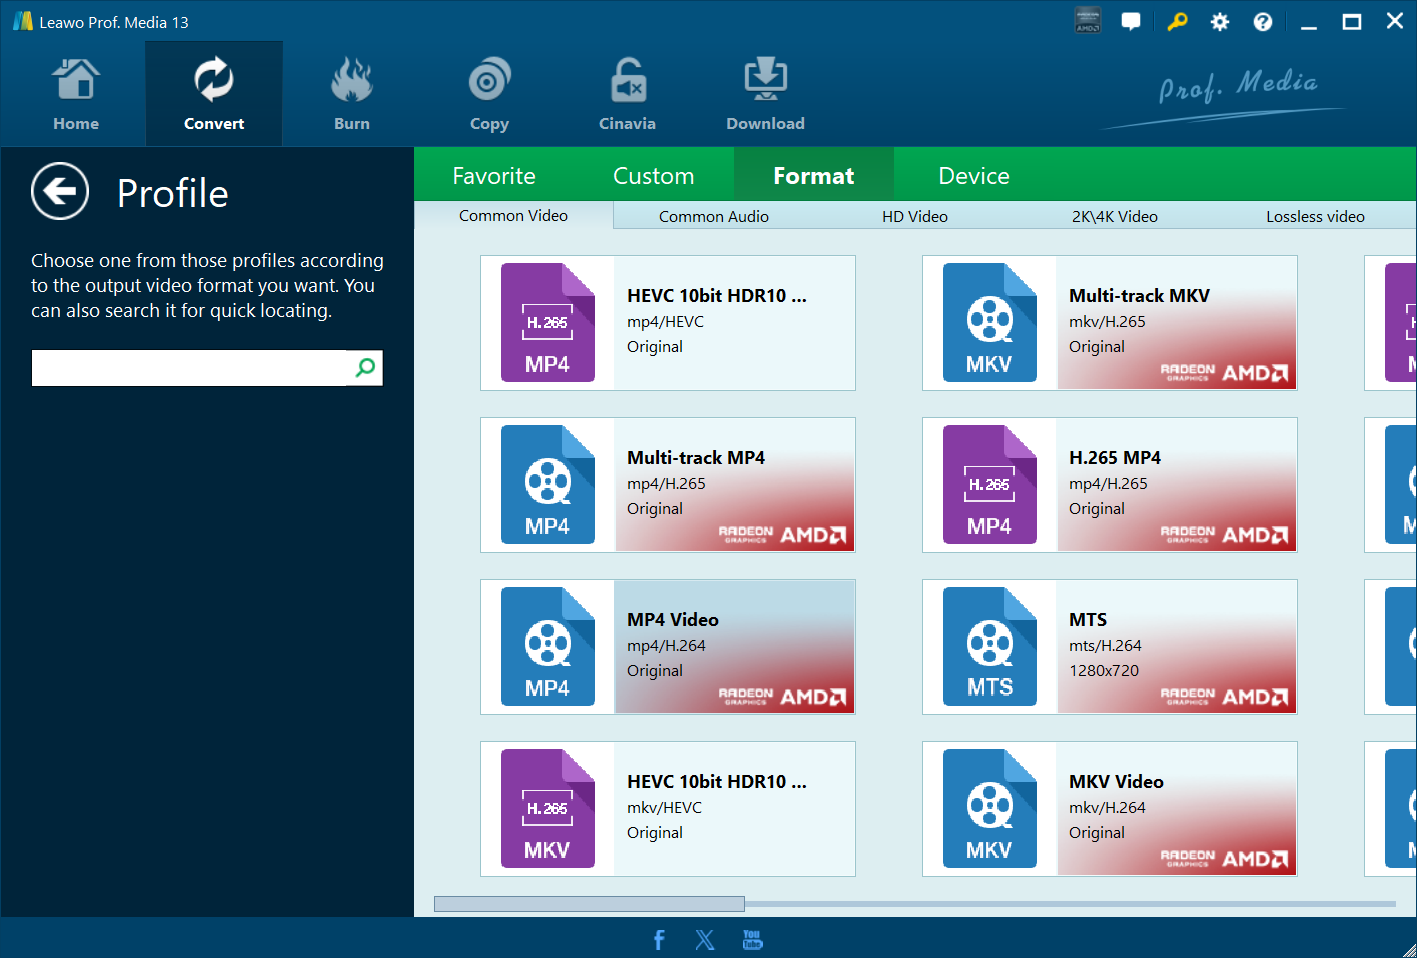
You could move mouse to the target profile, and then click the “Edit” icon or “Like” icon at the top-right corner of target profile to edit output profile parameters or add profile to “Favorite” tab. You could adjust video codec, bit rate, frame rate, aspect ratio, resolution, audio codec, audio bit rate, channel, sample rate, etc.
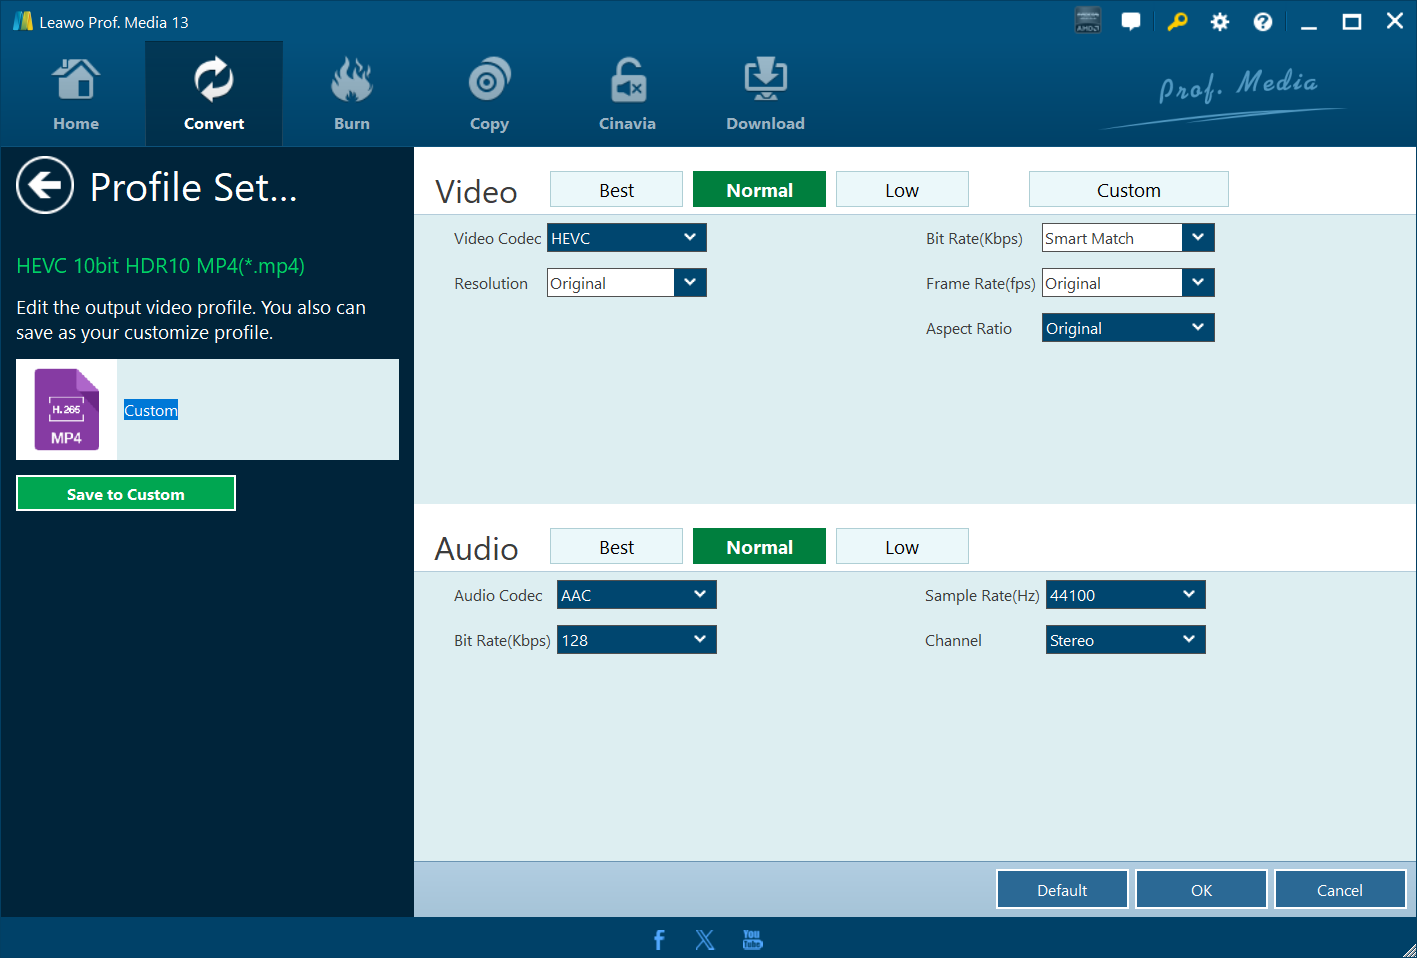
After adjusting output profile parameters, you could save changes as a new profile by clicking the “Save to Custom” button and then naming it. To edit profile parameters, you could also click the “Edit” button on the drop-down menu of “Output Profile: MP4 Video” button.
Step 5: Set output directory
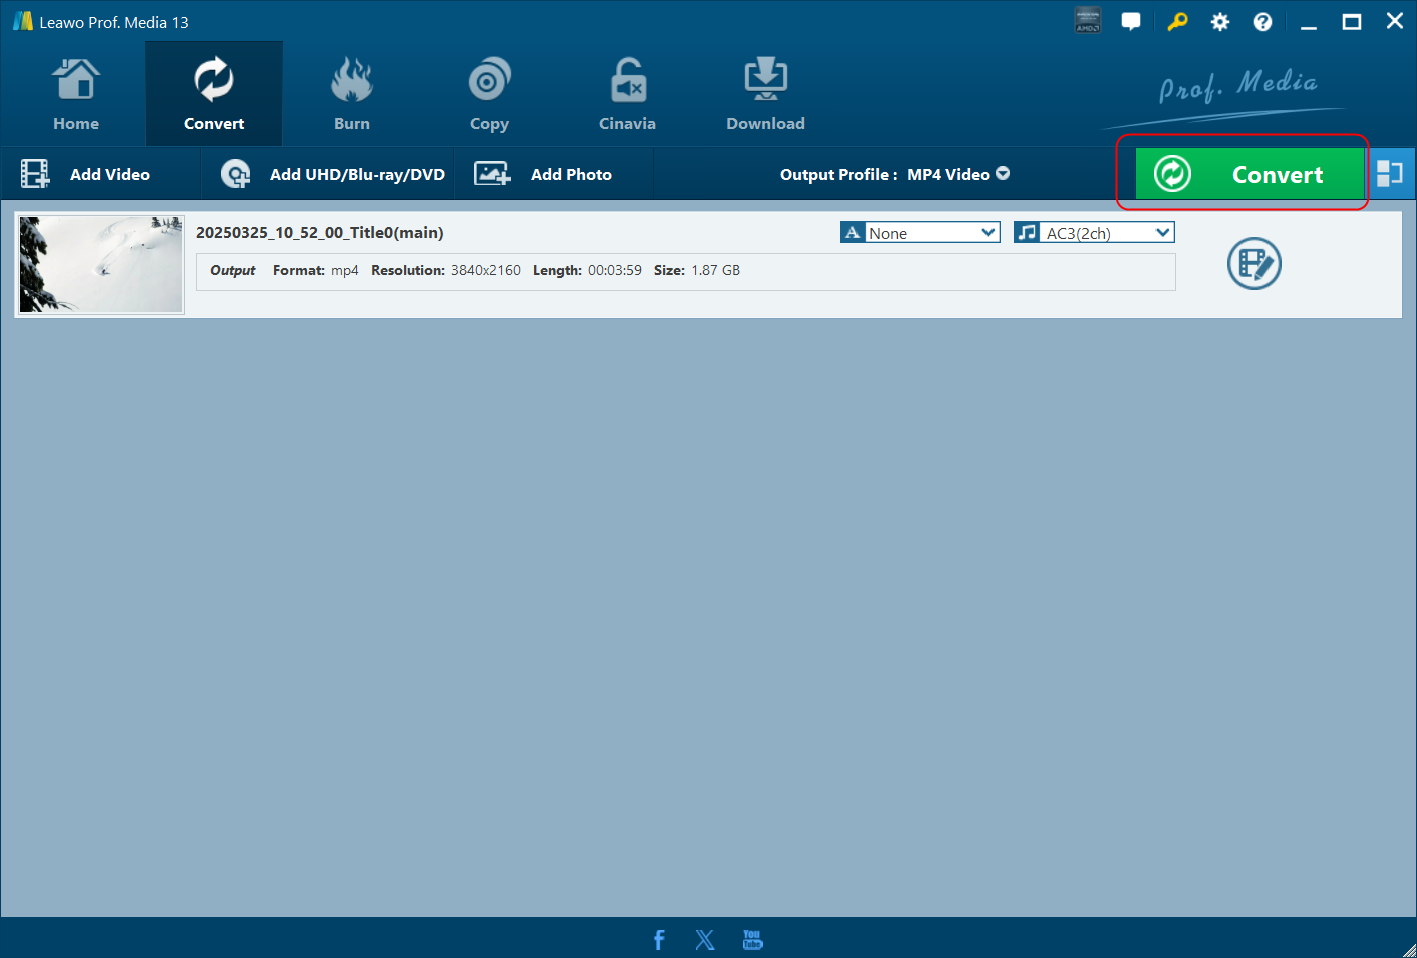
After setting output format, click the green “Convert” button to enter the output directory setting panel.
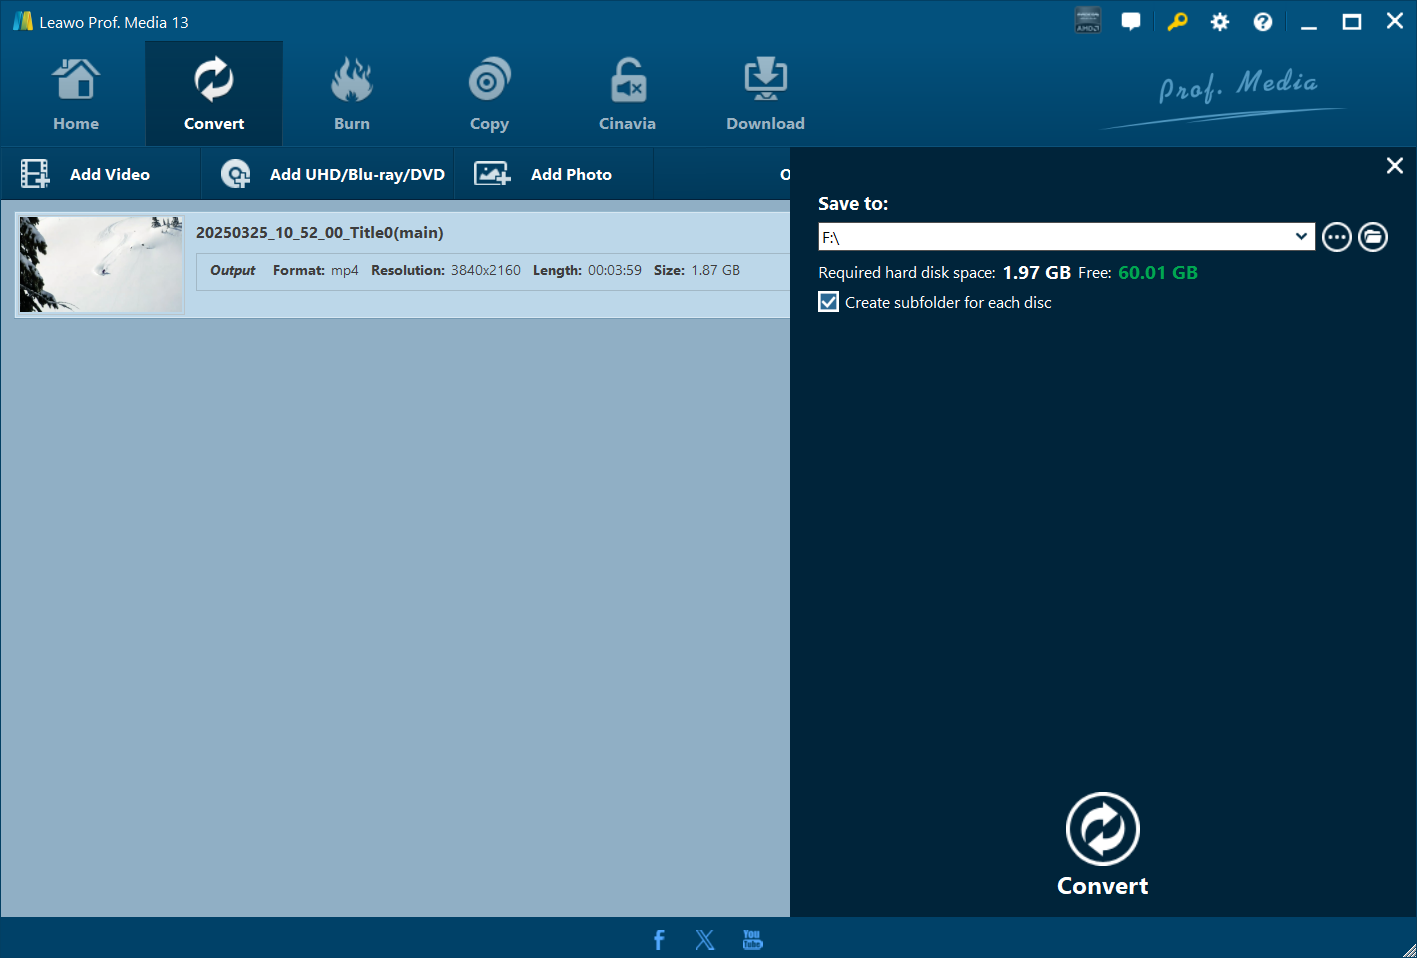
On the pop-up sidebar on the right, you need to set output directory in the “Save to” box. You could view required disk storage here. If you like, you could click the “Create subfolder for each disc” option if you have loaded multiple source 4K Blu-ray disc for converting.
Step 6: Start converting 4K Blu-ray
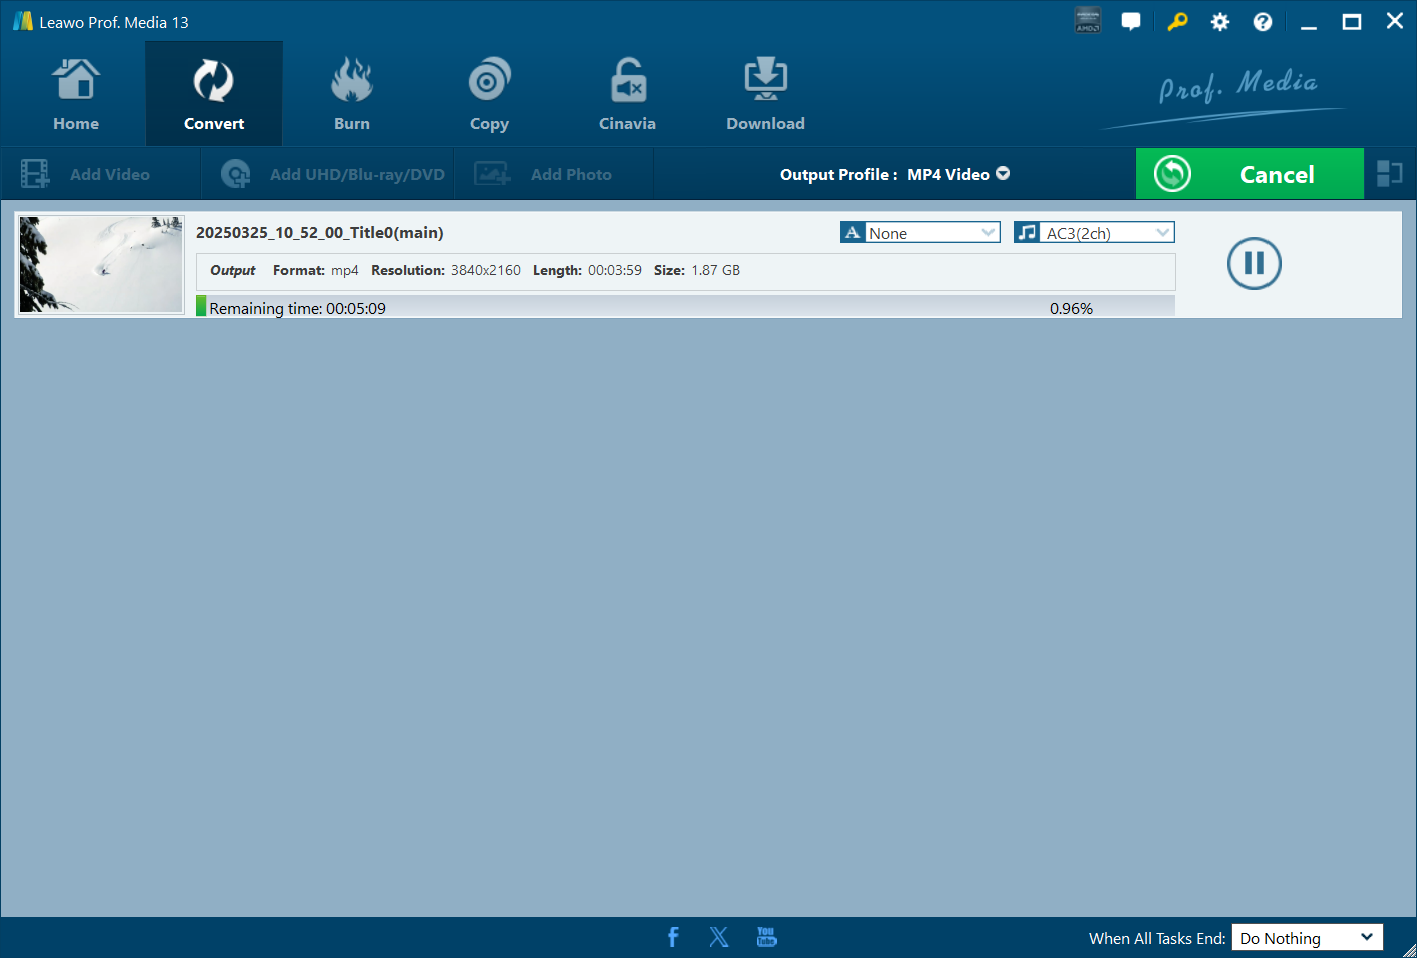
After setting output directory, click the bottom “Convert” button to start converting 4K Blu-ray movies to digital video/audio files. You then will be led to the converting panel, where you could view all converting tasks, stop any converting task, cancel all converting tasks, etc. You could even do after-conversion settings: Do Nothing, Exit Program or Shut Down computer.


