Leawo UHD Creator User Guide
Leawo UHD Creator is a professional 4K UHD Blu-ray burning software tool to burn 4K Blu-ray disc, folder and ISO image file file from video/image files Follow the below user guide to learn how to use Leawo UHD Creator.


- Home
- >
- Leawo UHD Creator
- Leawo UHD Creator for Mac
- >
- User Guide
Leawo UHD Creator User Guide
Leawo UHD Creator is a professional 4K Blu-ray burning software tool to help you convert and burn video/image files in various formats to 4K Blu-ray disc, folder and/or ISO image file. This 4K Blu-ray burner enables you to burn UHD Blu-ray with multiple practical bonus features like the internal video editor, 4K Blu-ray menu creator, etc. It is built in Leawo Prof. Media as a module. Download and install Leawo Prof. Media, and then follow the below steps to learn how to use Leawo UHD Creator to burn 4K Blu-ray from video/image files.
Step 1: Enter Leawo UHD Creator module
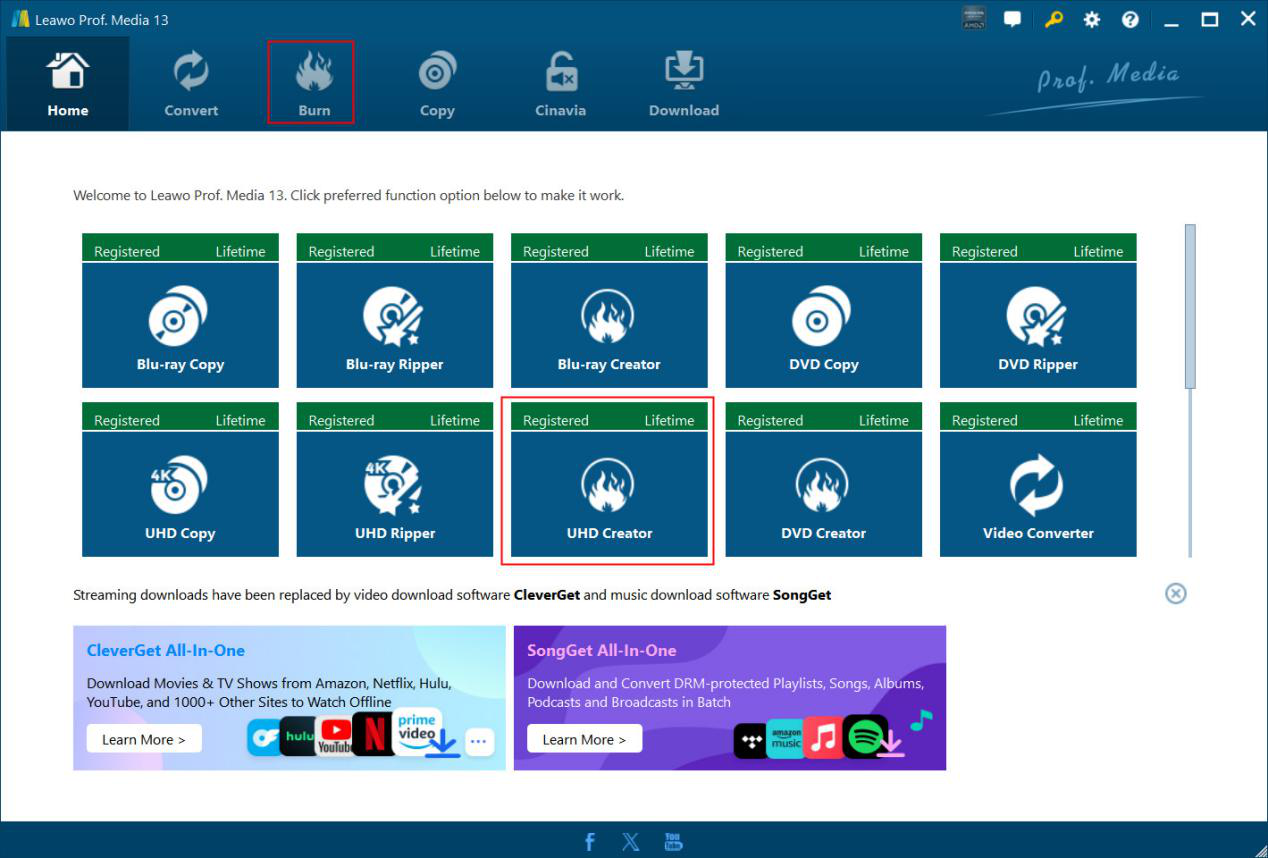
There are 2 ways to enter the UHD Creator module: directly open the “Burn” tab, or click the “UHD Creator” on the “Home” interface.
Step 2: Add source video/image files
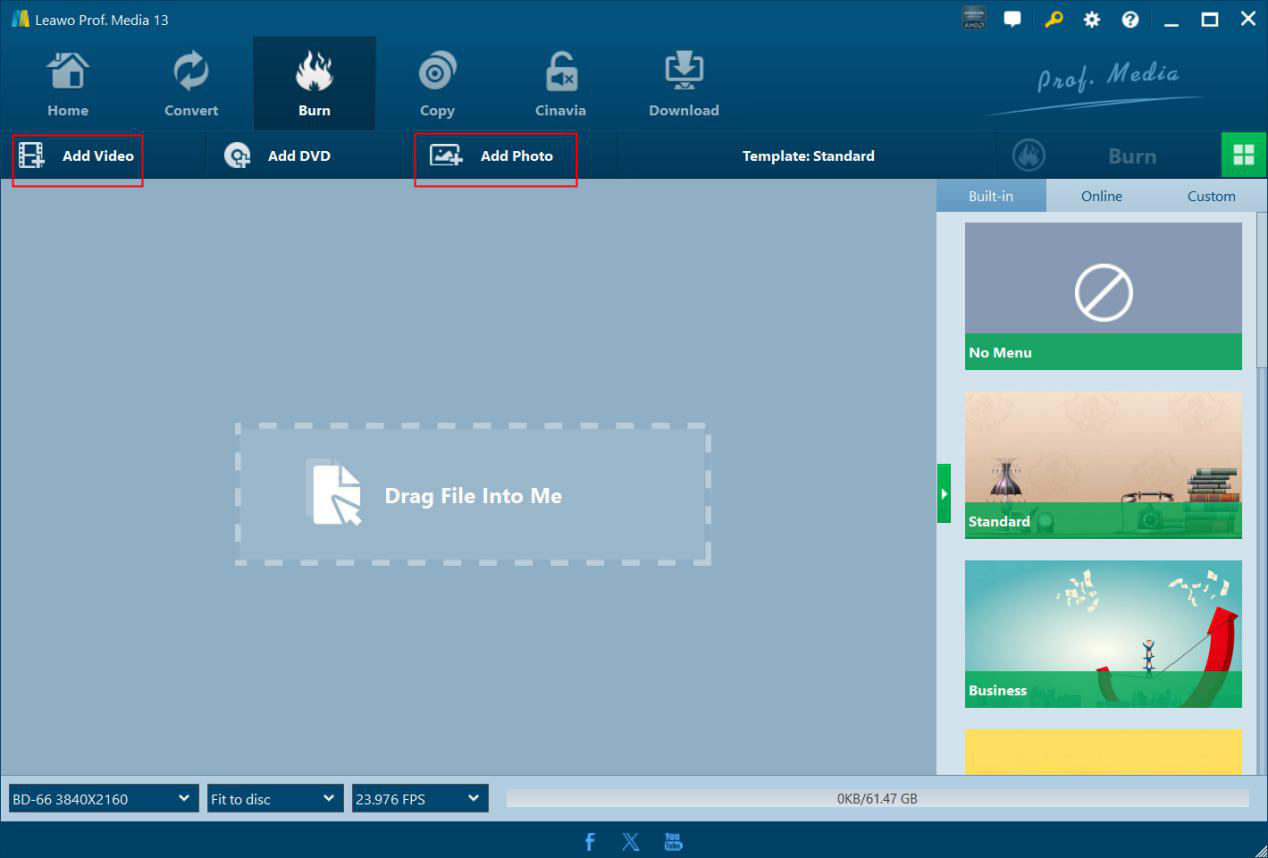
On the “Burn” interface, according to your needs, you could click either “Add Video” button or “Add Photo” button to add source video/ISO file for burning video to 4K Blu-ray or add images for burning photos to 4K Blu-ray. You could add single video file, video folder, ISO file, or single photos, photo folder.
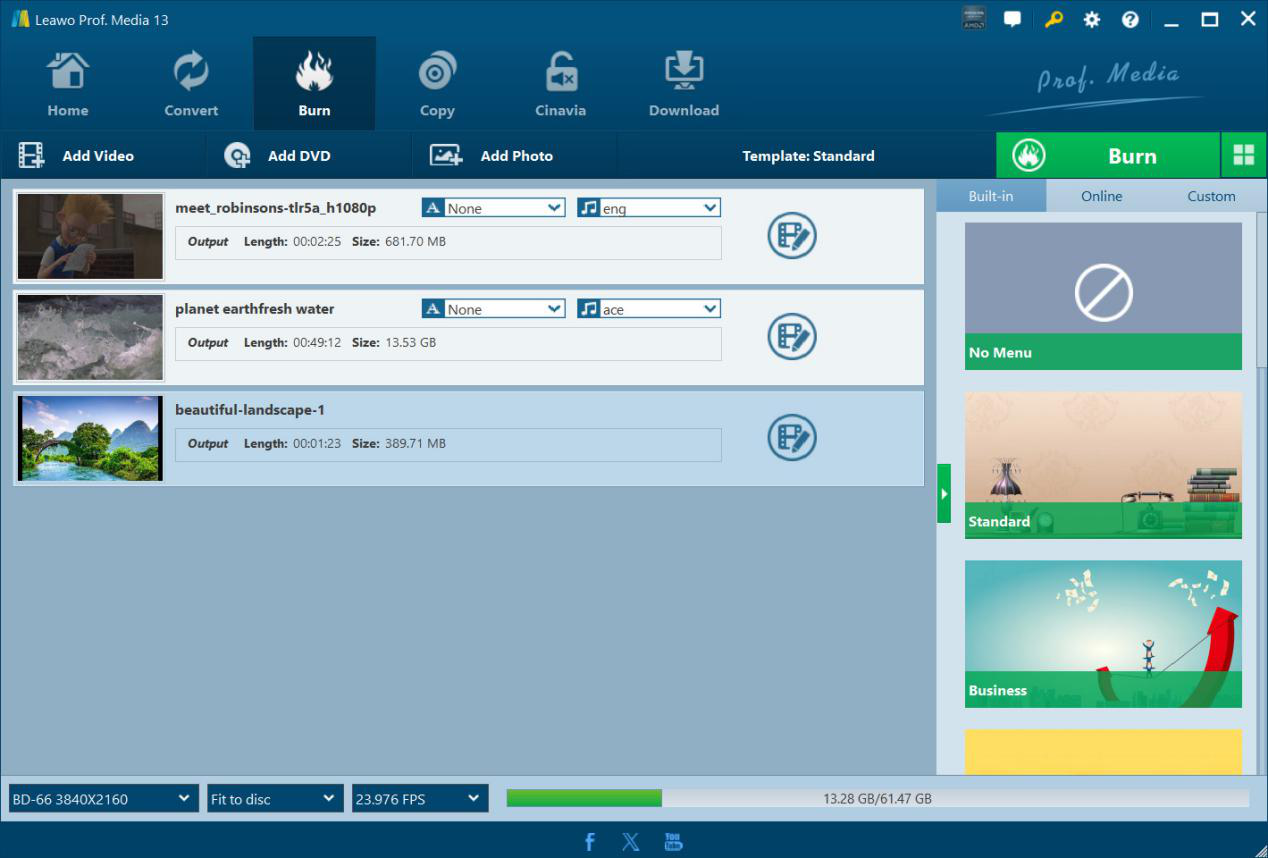
After you load source video files, you could then play back loaded video file, select subtitles and audio tracks, and even add external subtitle for burning to 4K Blu-ray content. If you are loading photo files for burning 4K Blu-ray photo slideshow, all loaded photos would be automatically generated into photo slideshow.
Step 3: Edit loaded video files or generated photo slideshow (optional)
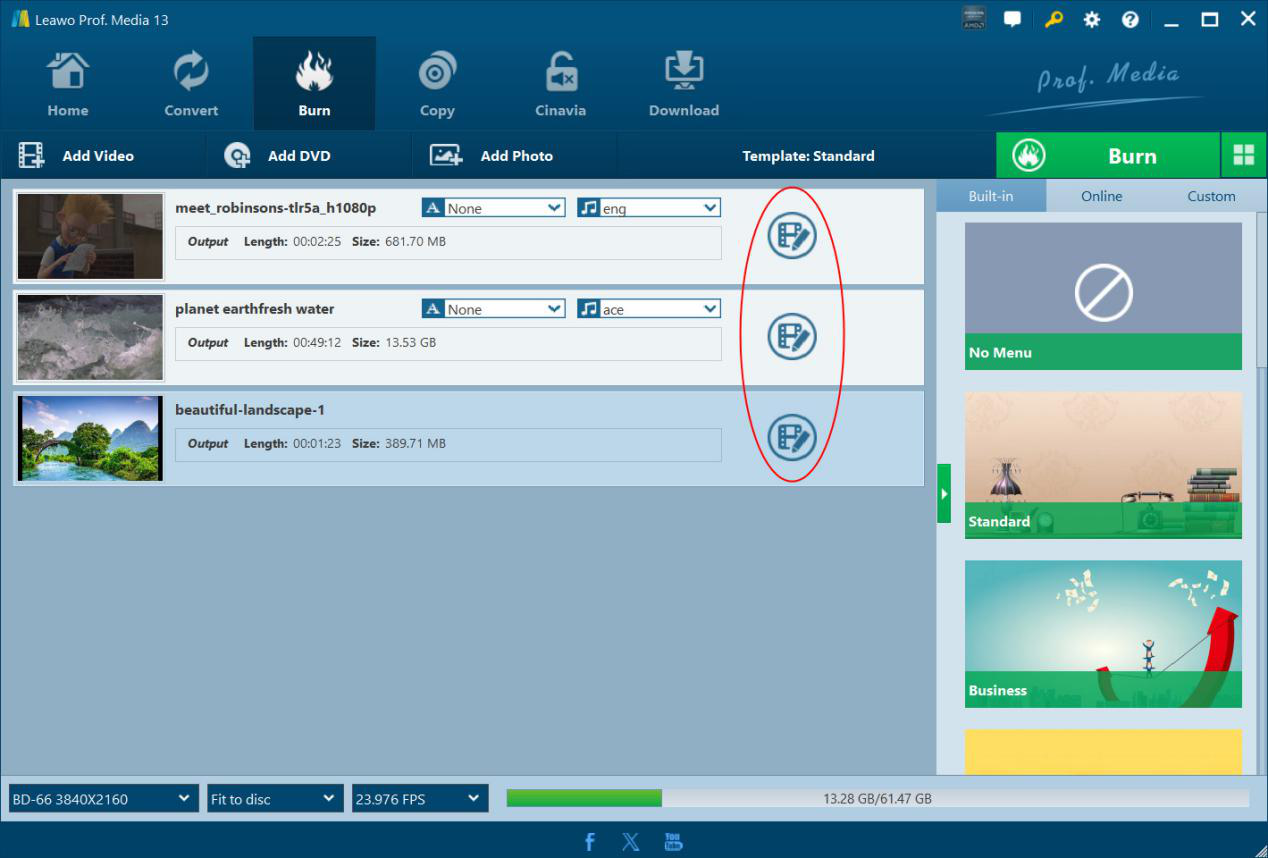
You could edit loaded video file and generated photo slideshow before burning to 4K Blu-ray content. By clicking the “Edit” icon, you could enter the editing panel to edit loaded video file or generated photo slideshow.
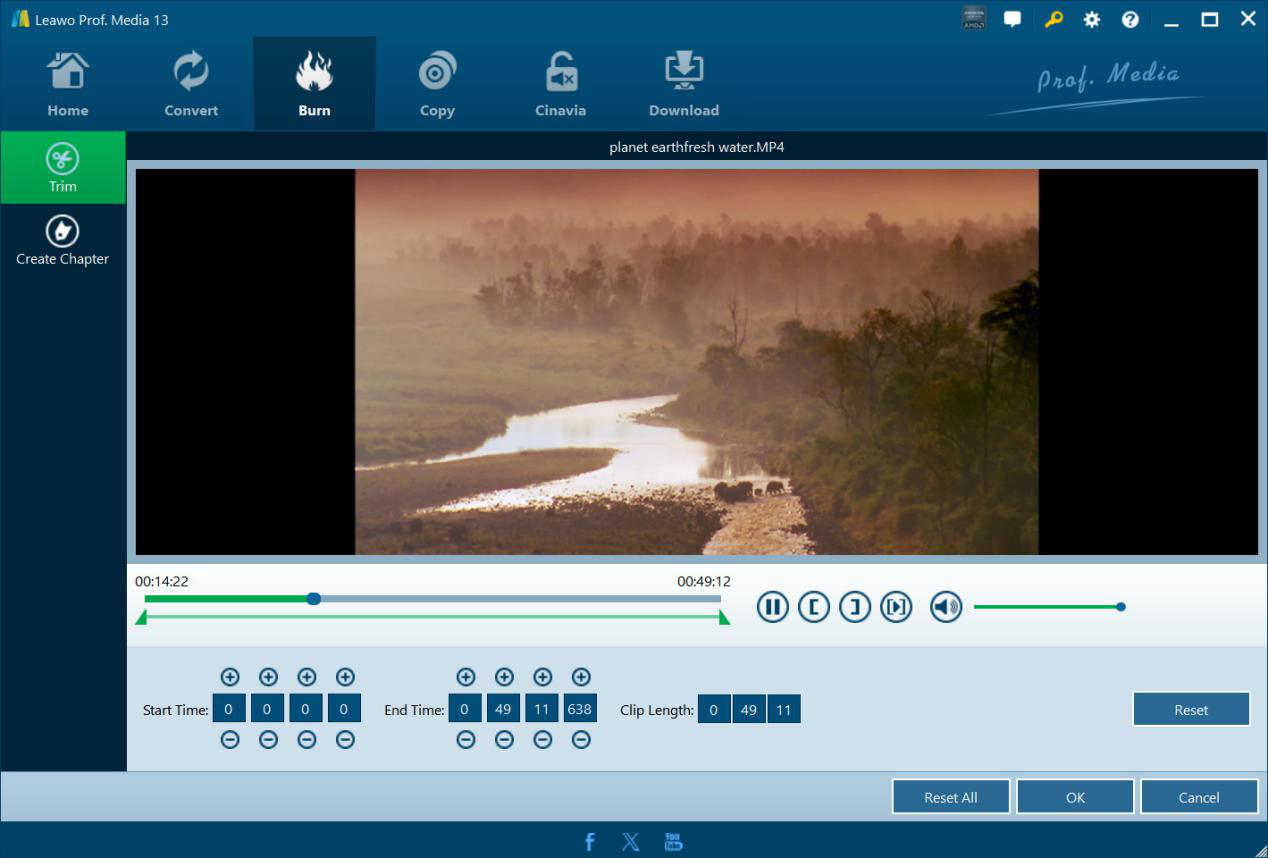
As for video editing, Leawo UHD Creator provides 2 editing features: Trim and Create Chapter.
l Trim: Trim video length to cut unwanted clips before burning to 4K Blu-ray. You could adjust the start and end time points, directly drag the limiters on the play bar, or click the “Set as start time” and “Set as end time” buttons to trim video length.
l Create chapter: You could create chapters via the internal Auto Insert Chatper option by setting the chapter numbers or chapter length, or manually insert a chapter by clicking the \"Insert chapter\" at the time point you want to add a chapter. You could also delete created chapters for re-setting.
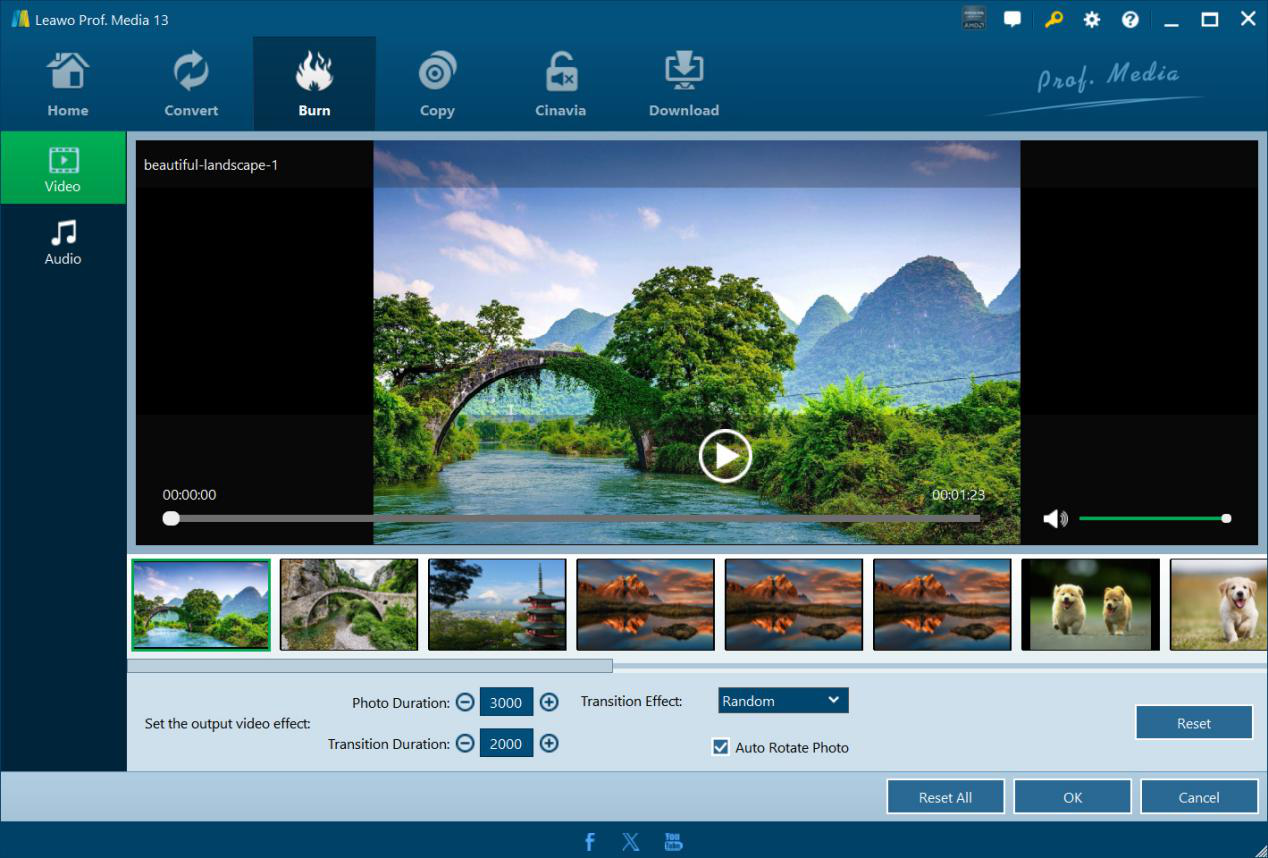
As for editing generated photo slideshow, Leawo UHD Creator enables you to edit the photo slideshow video and audio:
l Video: Add extra photos, remove existing photos, re-order photos, set the output video effect by setting photo duration, transition duration and transition effect, and decide whether or not to automatically rotate photos.
l Audio: Add your favorite song as background audio, and then set the background music effect like fade in, fade out and loop play, as well as add more background music or delete loaded music.
Step 4: Set disc menu

No matter you are going to burn video to 4K Blu-ray, or turn photos to 4K Blu-ray photo slideshow, Leawo UHD Creator allows you to add a disc menu for burning 4K Blu-ray content. On the right sidebar, you could directly select one from Built-in tab, download more disc menu templates under the Online tab, or select one from Custom tab if you have ever customized and saved disc menu templates here. By clicking the middle of target disc menu option, you could enter the disc menu preview panel, as listed below:
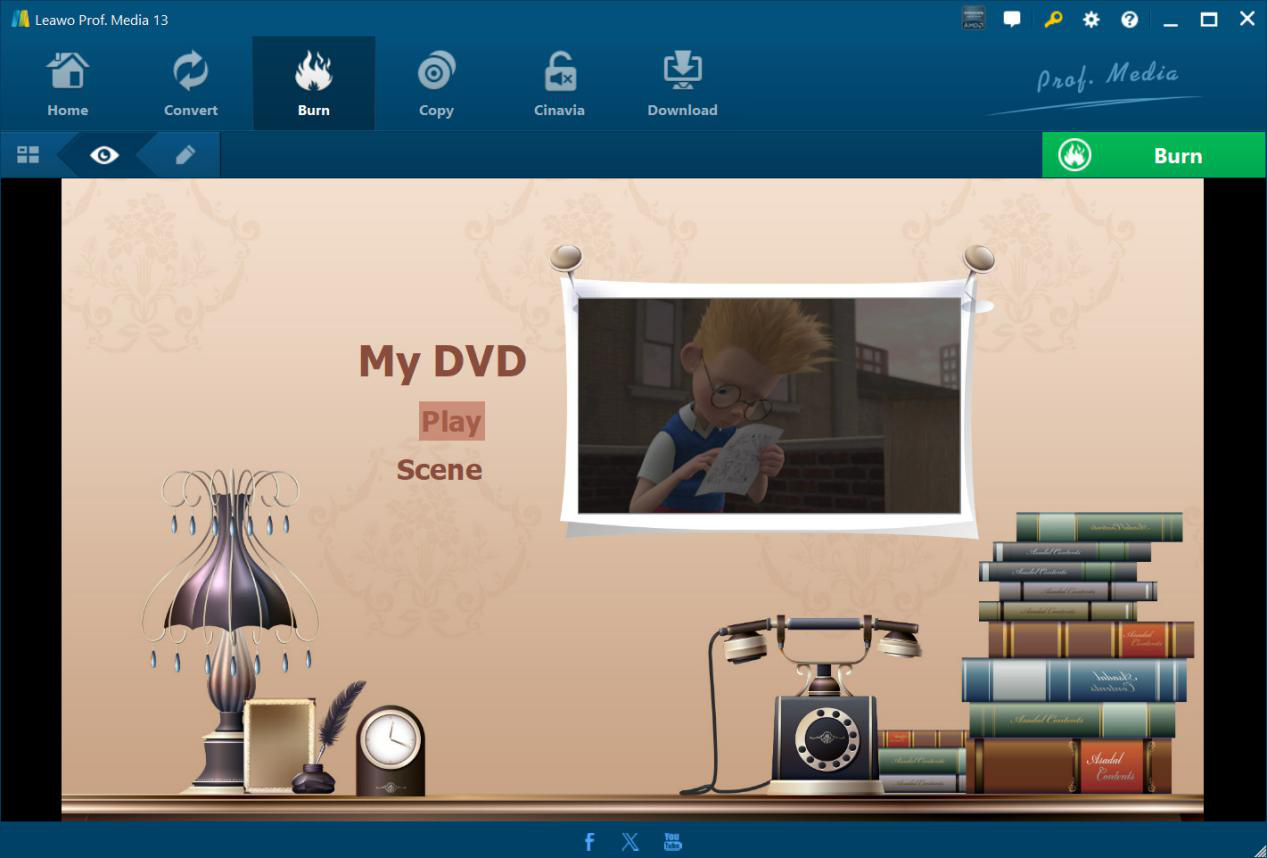
On the disc menu preview panel, you could view the main menu page and scene page. You could also play back each title on the disc menu. You could even click the pencil icon to enter the disc menu creator window to customize disc menu according to your needs.
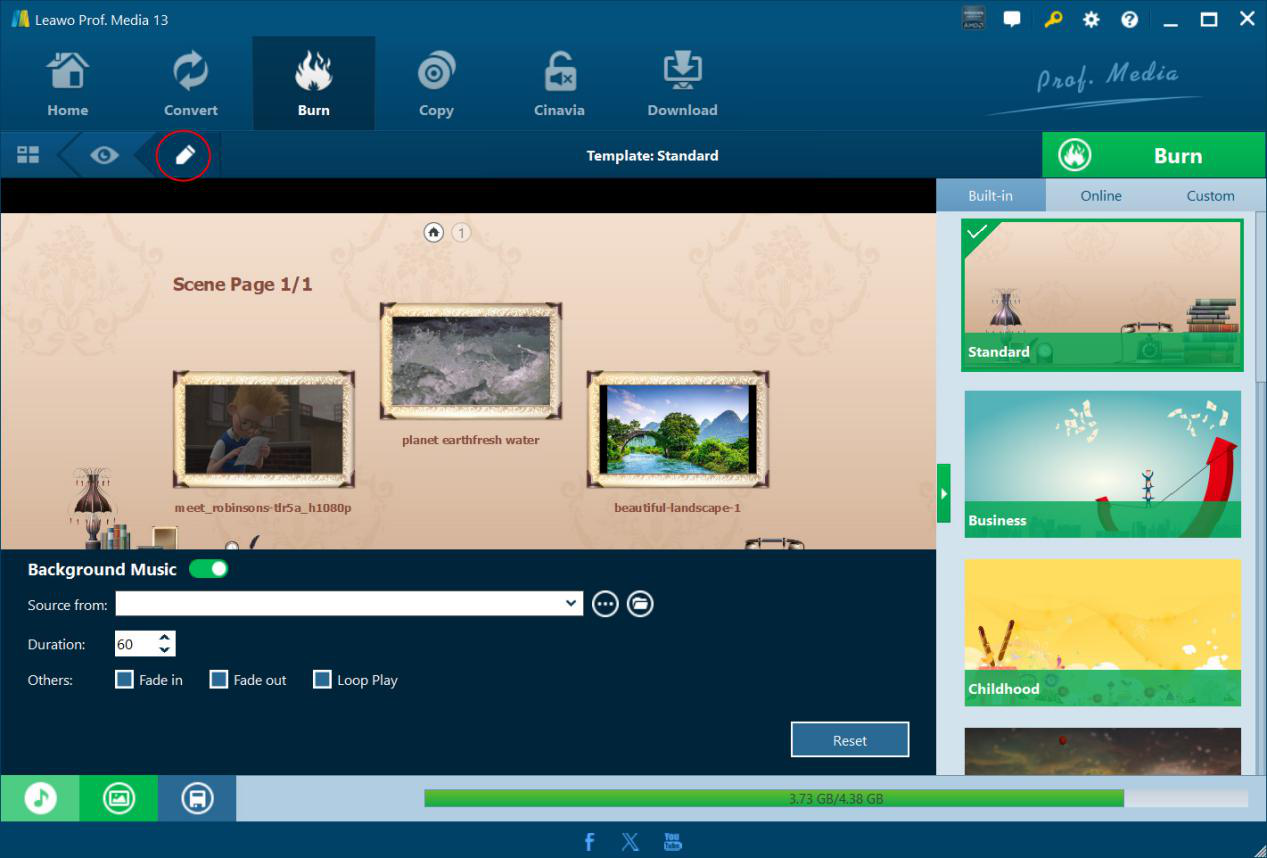
On the disc menu creator window, you could edit the disc menu Home page and Scene pages, add background music/image/video, adjust title/screenshot position,change title content, modify text color/size/font, etc. After customizing, you could save the changes to Custom group for future use.
Step 5: Specify 4K Blu-ray burning settings
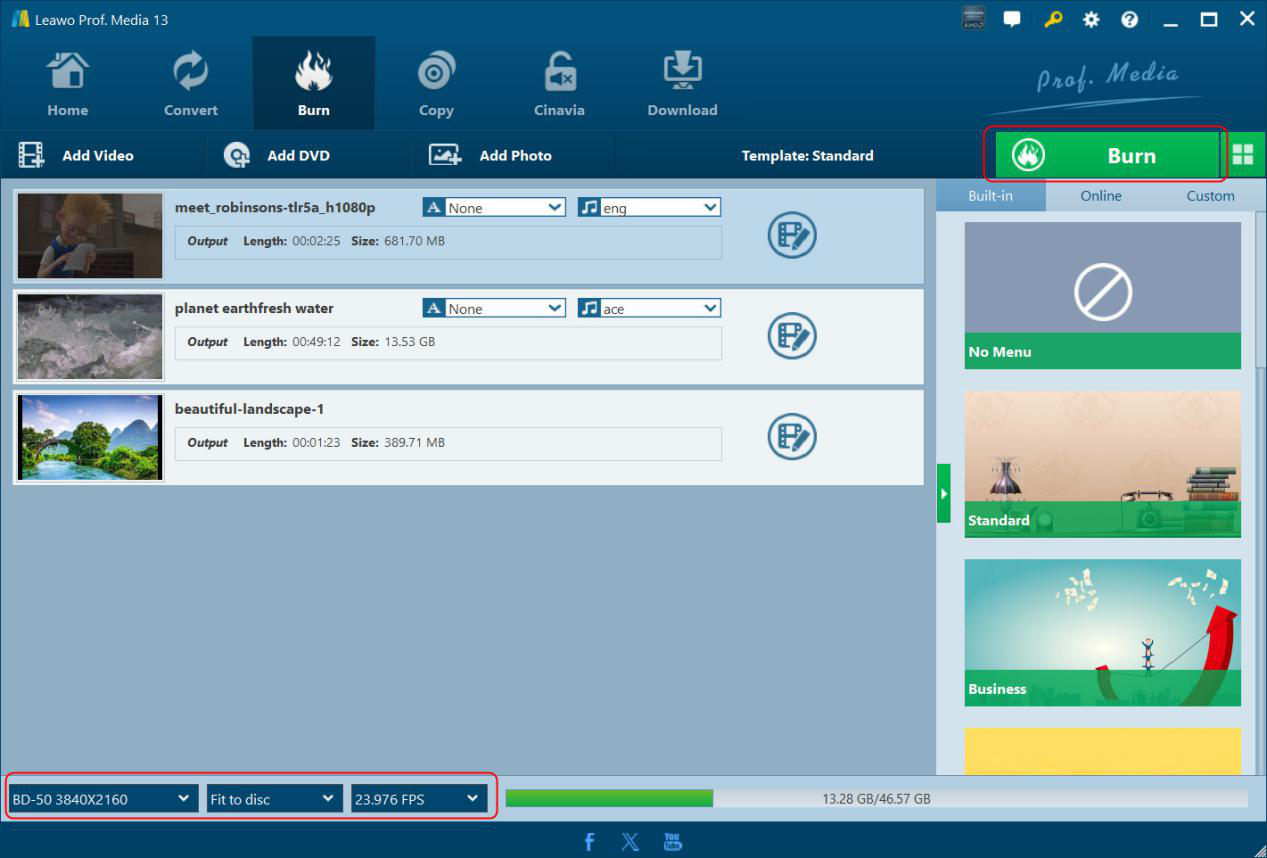
After setting disc menu, return to the Burn panel and then set output 4K Blu-ray type at the bottom left corner. Here you need to choose output 4K Blu-ray type, Fit to disc, and frame rate. Then, click the green “Burn” button to call out more 4K Blu-ray burning settings.
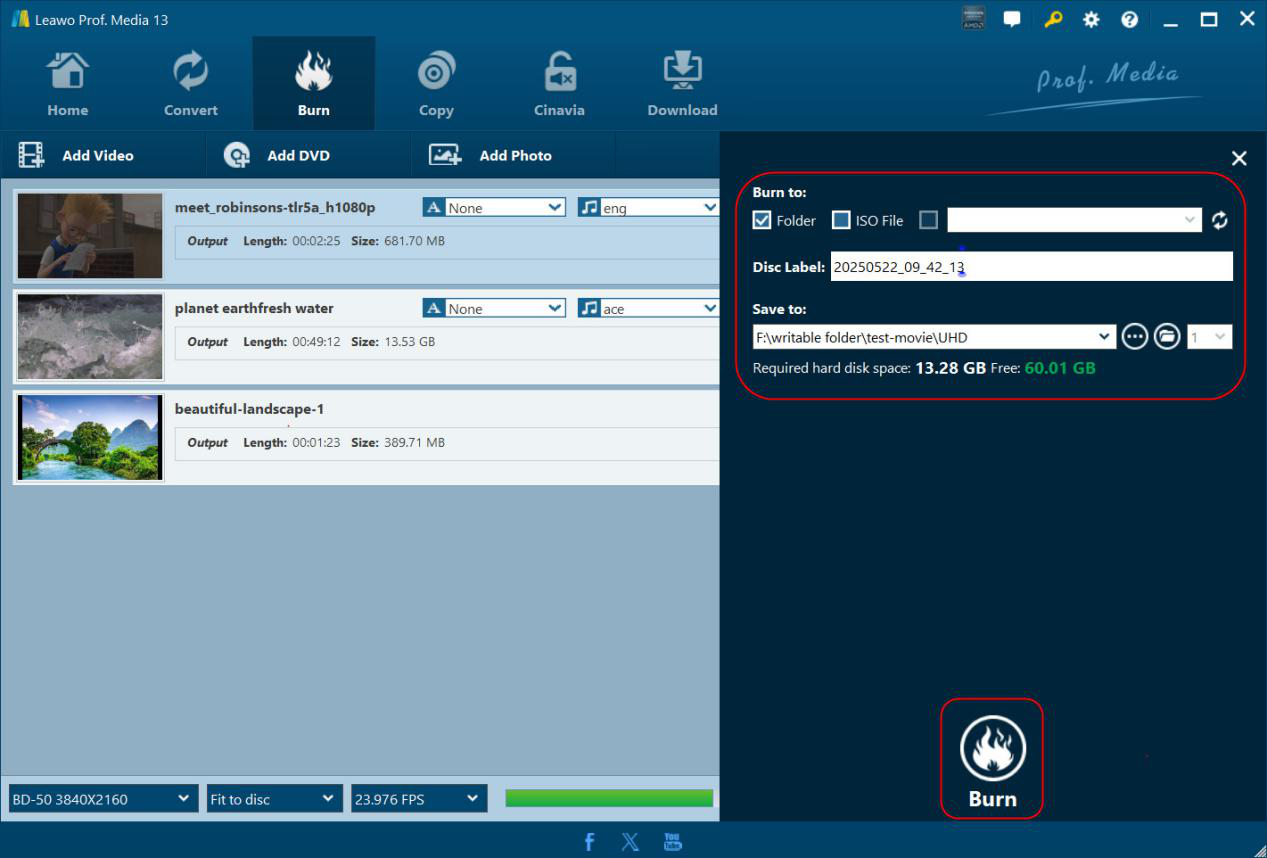
On the right sidebar, you need to specify “Burn to”, “Disc Label” and “Save to” options.
l Burn to: This means what you want to burn, 4K Blu-ray folder, 4K Blu-ray ISO file and/or 4K Blu-ray disc. It allows multiple choices. To burn 4K Blu-ray disc, you need to insert a 4K Blu-ray disc to the 4K Blu-ray drive that is connected with your computer. Make sure you have insert a 4K Blu-ray disc that is the same type as that you have set at the bottom left corner on the “Burn” window.
l Disc Label: Name the output 4K Blu-ray content.
l Save to: Choose a local drive to carry out the 4K Blu-ray burning and save the output 4K Blu-ray content.
Right next to the “Save to” box, you could select how many 4K Blu-ray disc copies (up to 10) you want to burn. This option will help you create up to 10 4K Blu-ray disc copies one by one.
Step 6: Start burning 4K Blu-ray
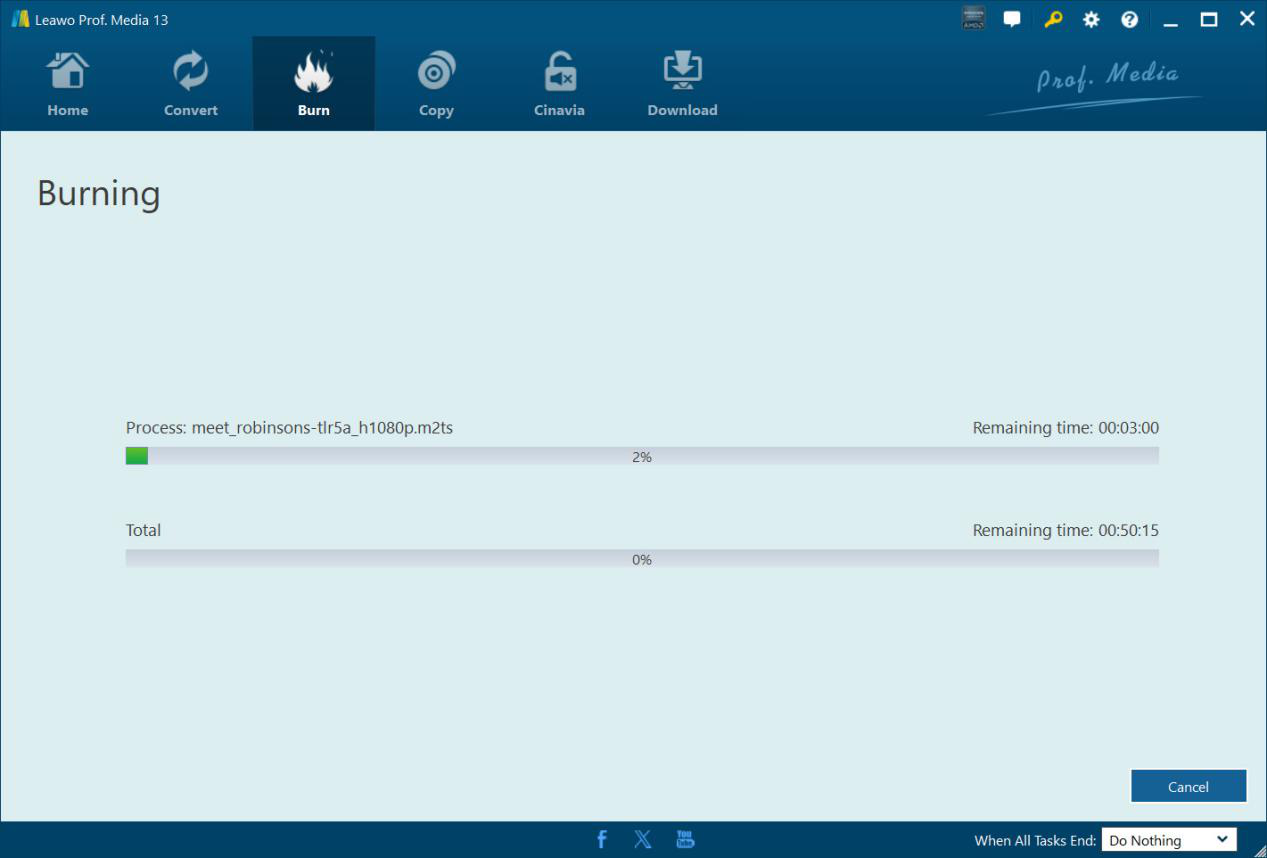
After setting burning preferences, click the bottom “Burn” button on the sidebar to start burning 4K Blu-ray content. You will be led to the “Burning” window, where you could view the entire burning process and cancel burning anytime you like. You could even set after-burn preferences including Do Nothing, Exit Program or Shut Down computer.


