Convert videos to iPod on Mac with powerful functions, this Leawo Video Converter for Mac—Mac iPod Converter is a professional iPod converter for Mac that enables you to convert all popular audio and video files such as MPEG,AVI, WMV, MOV, MP4, 3GP, VOB to iPod video, and audio including MP3, M4A, etc. After conversion, you will find this Mac AVI to iPod converter brings you excellent output quality for you to play videos on your iPod at will. Want to convert AVI files to iPod video MP4 file on Mac with the practical software to enjoy your colorful digital life?
What is AVI?
An AVI (Audio Video Interleaved) file is a sound and motion picture file that conforms to the Microsoft Windows Resource Interchange File Format (RIFF) specification. AVI files (which end with an .avi extension) require a special player that may be included with your Web browser or may require downloading.
Tutorial of converting AVI to iPod with Leawo Mac iPod Converter
Note: Before this tutorial, please download and install Leawo Mac iPod Converter first!
Full Guide
Do the essential settings
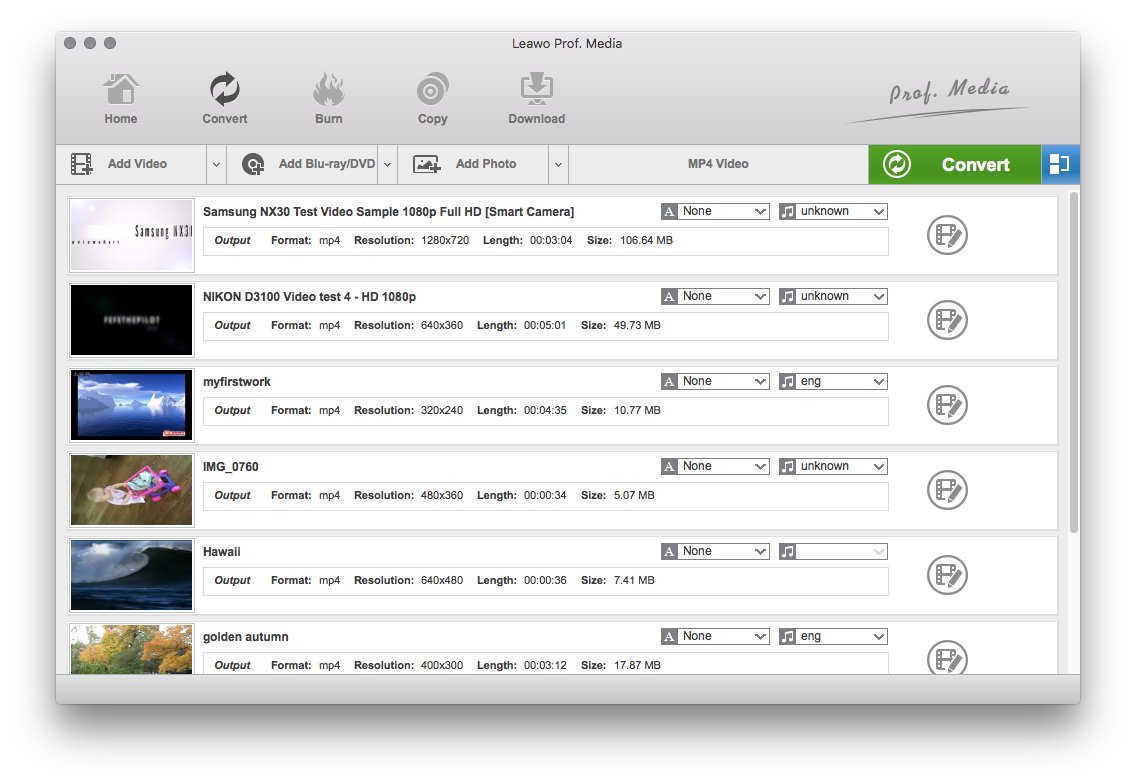
Click "Add" button to load AVI files you want.

Choose output format
Select each file and choose the output format like iPod MP4 in "Profile".
Select video and audio quality that you need.
Set an output folder by "Output" for the destination files.

Video effect settings
Click "Edit" button to trim, crop, adjust and watermark video to satisfy your needs.
- Trim: Click "Trim" button. Now trim video duration by setting start time and end time to keep the segment you want.
- Crop: Click "Crop" to crop the video file to extract the black sides or unnecessary segment from the original video file.
- Effect: Click "Effect" button to set video brightness, contrast, and saturation for better output quality.
- Watermark: Check "Enable Watermark", and click "Image Watermark" or "Text Watermark" to add watermark to the video, then adjust the Transparency, Margin, and Watermark Size.
- Besides, you can set detailed parameters: Choose the file and go to "Settings" button at the bottom of the main interface to set detailed parameters for the video as you like. Such as Codec, Video Size, Bit Rate, Aspect Ratio, Frame Rate, etc.
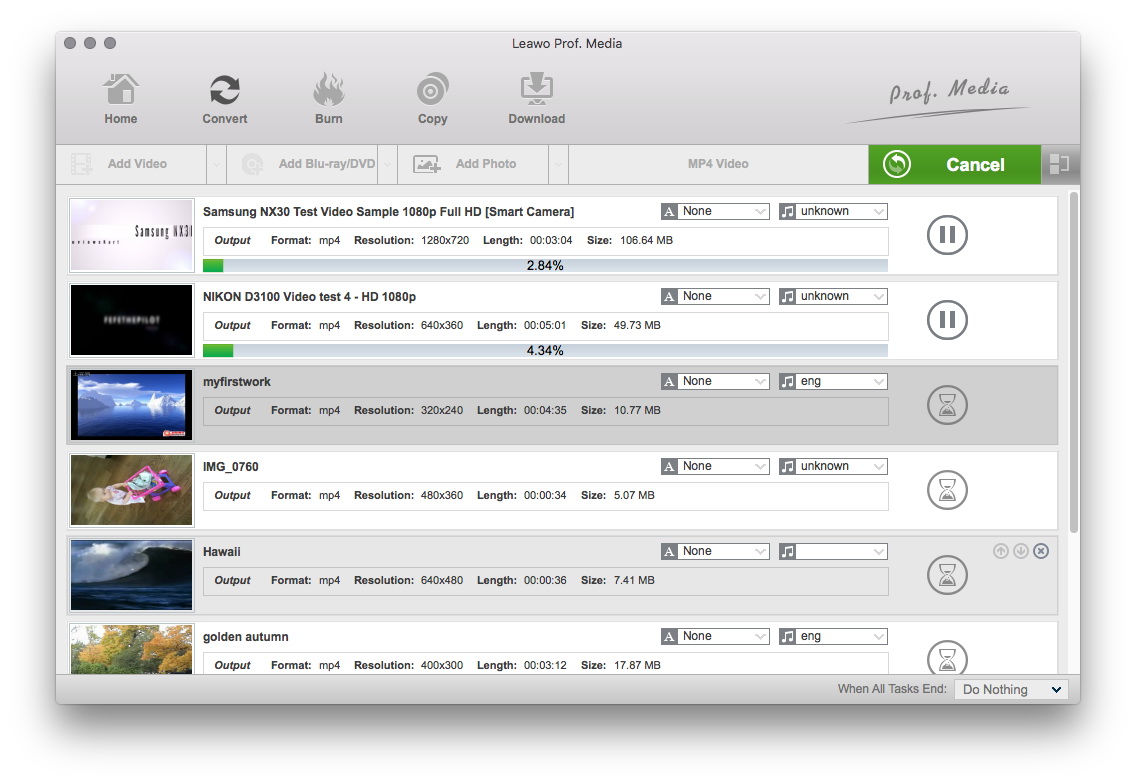
Convert Videos
When you have got ready for the settings for the added videos in this program, you can click "Convert" button to start conversion. Just for a while, the conversion will be finished and you can enjoy it freely.
Extended Knowledge

An iPod is a portable device for storing and playing audio files encoded by MP3 or AAC compression algorithms. Designed by Apple Computer, iPods have distinctive stylings and can hold thousand songs. Popular iPod features including a calendar, address book, to-do list, alarm clock with sleep timer, games and text reader. When connected to a personal computer (PC), Windows or Macintosh, the iPod communicates with a piece of Apple software called iTunes. The iPod and iTunes work together to synchronize the songs available on iPod to those available on the PC. This happens automatically, without any intervention required from users.