Leawo Video Converter User Guide
Leawo Video Converter is the best video converter software program to help you convert common video, HD video and audio between various formats for multiple uses. It could convert videos of various sources, including online videos like YouTube videos, footages recorded by camcorder, camera or smartphones, etc. By converting, you could watch videos on multiple devices like MP4 players, iOS devices, Android devices, Windows Phone devices, etc. It even could automatically upload the converted video and audio files to YouTube directly.


How to convert video and audio
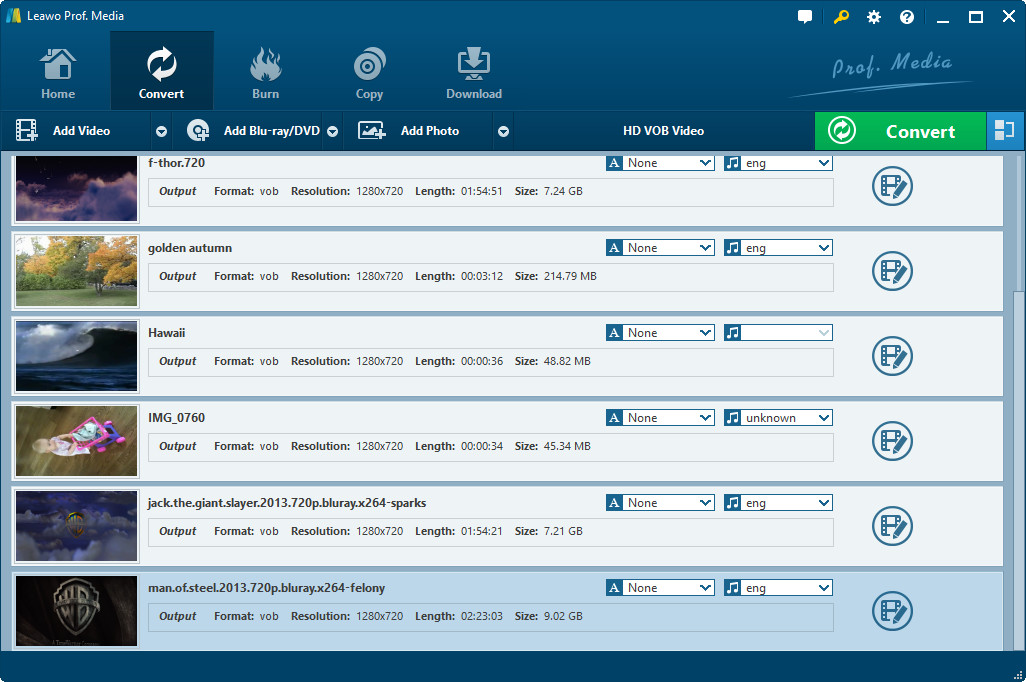
Step 1 : Load source files
After you download and install Leawo Video Converter, kick it off and click the "Add Video"/"Add Blu-ray/DVD"/"Add Photo" icon to load source files. You could load video files, video folders, audio files and photo images.
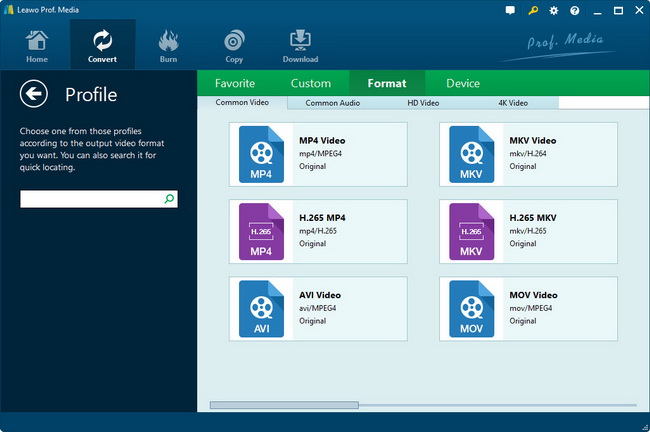
Step 2 : Output profile setting
On the video format part, click the "Change" button to set output profile on base of your target player or purpose. This Video Converter offers most video and audio formats, and specified profiles for some popular devices like iPhone, iPod, iPad, etc. You could also make use of the Start searching bar to get desired format quickly.
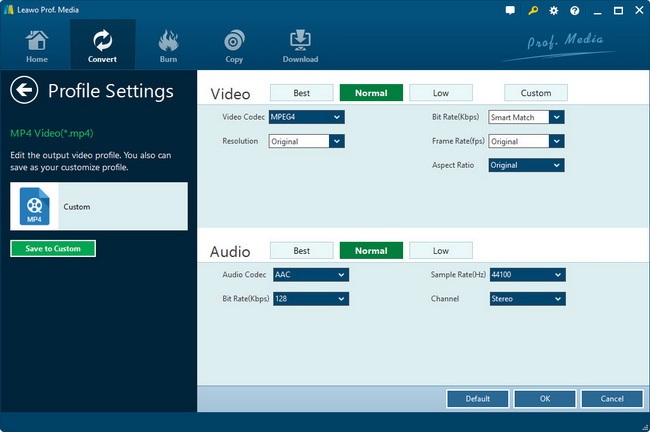
For advanced uses, Leawo Video Converter allows you to adjust the video and audio parameters of output files. You could click the "edit" button next to the Profile box to enter the parameter settings panel to adjust video codec, video size, bit rate, aspect ratio, frame rate, audio codec, channel, etc.
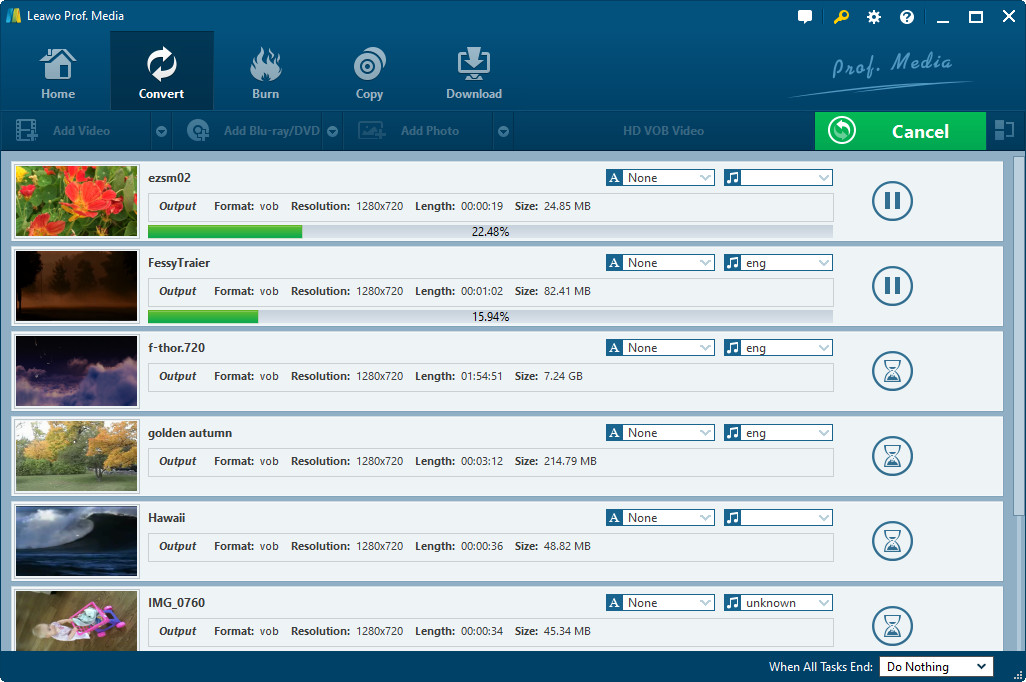
Step 3 : Start converting
Click the convert button on the bottom right corner of the program interface to start converting video or audio. You can see the converting progress on the converting panel.