

Leawo Blu-ray Creator User Guide
As top-rated Blu-ray burning software, Leawo Blu-ray Creator features Blu-ray author and DVD burner to burn video to Blu ray/DVD disc, folder and/or ISO Image Files. Being one of the best Blu-ray maker programs, Leawo Blu-ray Creator could burn video to Blu-ray like MP4 to Blu-ray, MKV to Blu-ray, AVI to Blu-ray, MOV to Blu-ray, WMV to Blu-ray, etc. It provides 40+ preset free disc menus, and allows you to edit disc menu via internal Blu-ray menu creator. What’s more, Leawo Blu-ray Creator could burn ISO file to blank disc, edit videos, create 3D Blu-ray movies, etc. Check the below guide to learn how to use Leawo Blu-ray Creator in detail.


How to Burn Video to Blu-ray and DVD on Windows?
Step 1 : Add source videos
Click the "Add Video" or "Add Photo" icon to add files to the program for burning, or directly drag the files to the main interface for further converting.
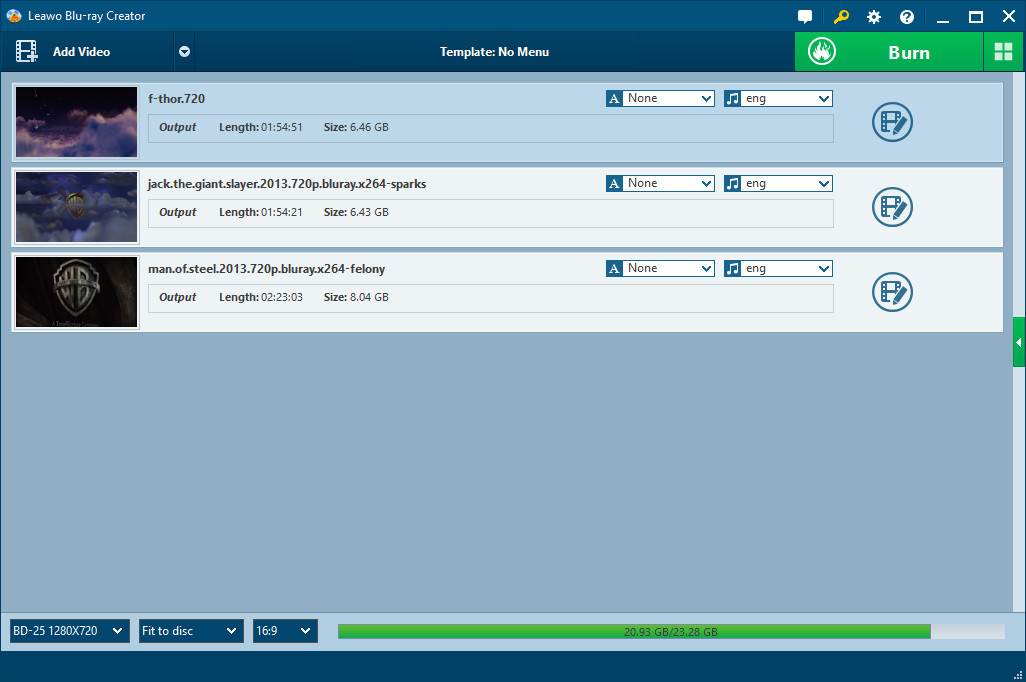
Note: You can select subtitles and audio tracks from source videos. External subtitles can be added according to your need. Moreover, select output disc type on the bottom of the program from DVD-5, DVD-9, BD-25 and BD-50 options. Set the aspect ratio from 16:9 and 4:3. Set the output quality in "Fit to disc" box. And you can see the detailed space required for Blu-ray/DVD burning.
Step 2 : Do more output settings
Click the big green "Burn" button on the top-right corner to enter the Burning Setting panel, where you need to figure out the detailed burning settings:
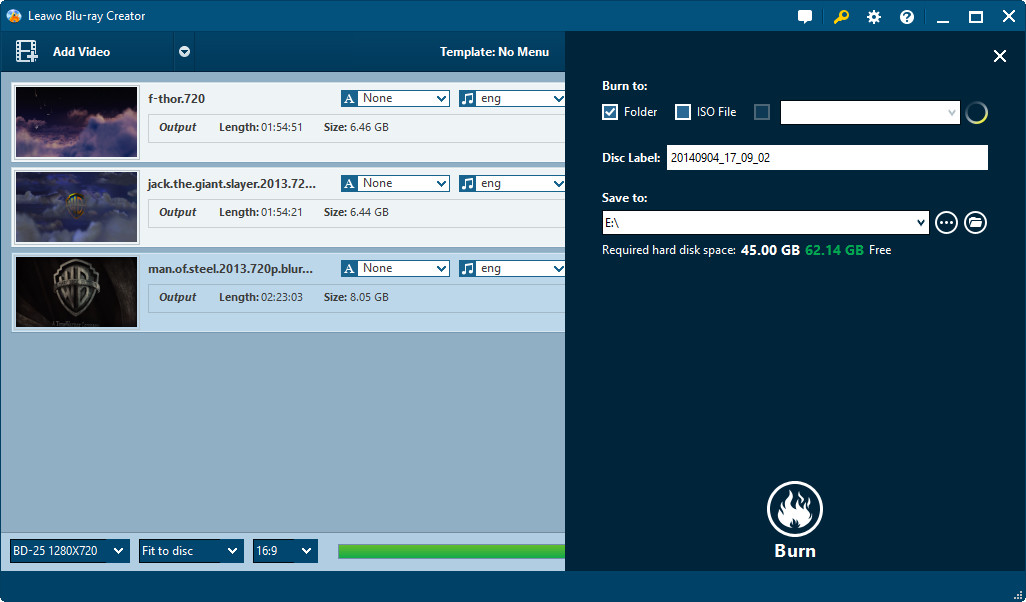
In "Burn to" box, choose to burn video to ISO File, DVD Folder, Blu-ray Folder, DVD disc or Blu-ray disc. At least one option should be selected. (Disc option could be selectable only when you insert a writable blank disc into the disc drive.)
In "Volume Label" box, you can type in a personalized label.
In "Save to" box, you can choose destination directory to save output file. Required hard disk space is showed on the setting panel.
Step 3 : Begin DVD & Blu-ray burning task
Click on the "Burn" button on the bottom of the burning settings panel to start burning videos to Blu-ray/DVD movies. After-done operation is available for you to choose: you can shut down the computer or do nothing as you like. In this panel, video burning process and time can be viewable.


